Data Execution Prevention (DEP) is a feature that protects our system from viruses and other security threats. Windows constantly monitors the programs running on our system and closes them if they perform any malicious activity.
But sometimes we want a certain program(s) to run even if Windows alerts us that it is a malicious one.
How to change Data Execution Prevention (DEP) settings in Windows 7
To change Data Execution Prevention settings in Windows 7 follow these simple steps:
1) Right-click on the Computer icon on your Desktop and select Properties.

2) The System window opens now. Here click the Advanced system settings link in the left pane as highlighted below

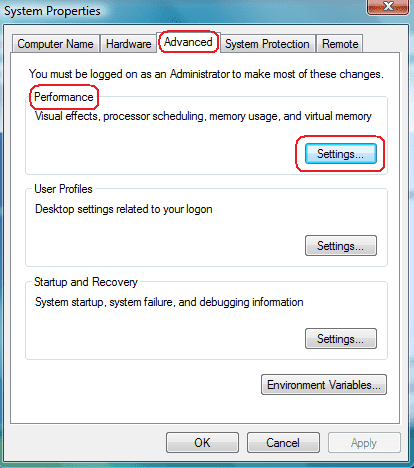
3) The System Properties window opens now. Here click the Settings… button under the Performance section under the Advanced tab
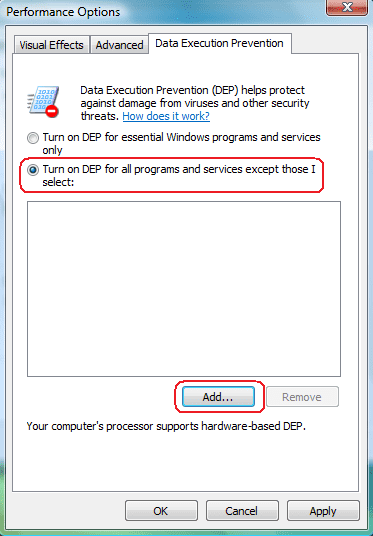
4) The Performance Options dialog box opens now. Here select the Data Execution Prevention tab and then click on the dot Turn on DEP for all programs and services except those I select option and click Add button
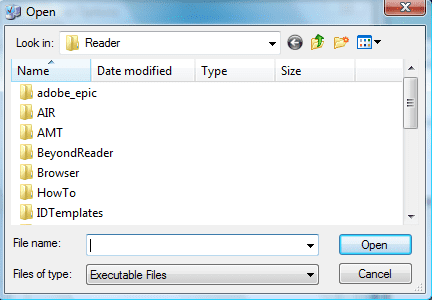
5) Now select the Executable file that you want to add and click the Open button
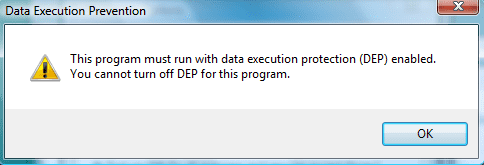
Note: If you try to add an executable file for which DEP cannot be turned off then you will receive a warning as shown below.
6) Similarly to remove an executable file from the list select that file and click the Remove button.
7) Click Apply and then the OK button in the Performance options window
8) Click the OK button in the System Properties window
9) Close the System window.