To reverse videos on iPhone, you can only use online methods with your mobile browser or third-party apps from the Apple App Store. It’s important to note that iPhone devices don’t have an inbuilt feature that allows you to reverse a video.
Although Snapchat has a built-in reverse mode, it only has a few features and the process may be a little clumsy.
Reversing A Video On iPhone Using A Third-party App
A few apps are capable of doing this. However, we’ll use InShot. It’s the finest third-party app I can suggest for iPhone video reversing.
InShot is a mobile app that you can download on your iPhone to make or edit films and photographs. Numerous tools in the application can assist you with other editing needs too.
Users of the iPhone and iPad can quickly add a rewind impression to play a movie backward with the help of InShot. In addition to reversing the clip, you can also trim it, change its speed, remove or add your music, use effects, and more. The application also enables you to save drafts for later editing quickly.
Unlike a couple of apps that offer this functionality, InShot doesn’t make you buy a subscription first before you can use the reverse feature.
Enough talk. Let’s get to it.
Steps To Reverse A Video Using InShot
Download InShot
On your iPhone, go to the App Store and search for InShot (the thumbnail will look like the one in the image below). Download it.

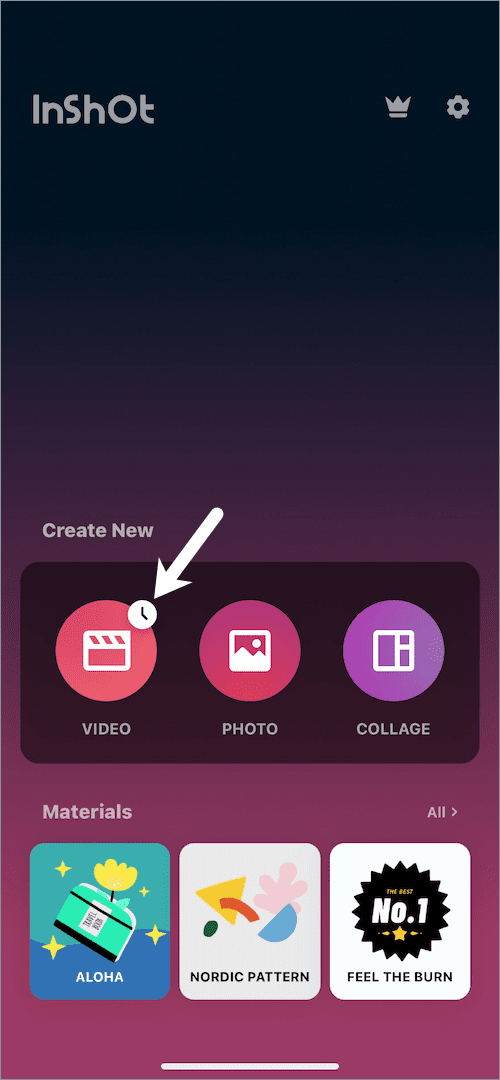
Select “Video”
Open InShot and choose the “Video” option.
Choose your video
Select the video you want to reverse from the Video album. You also get the option to trim the video before reversing, in case there are parts you’d like to cut out.
Swipe left for the reverse option
To access the “Reverse” option, swipe left on the tools panel until it appears on the far right.

Reverse
Press the “Reverse” button, then chill until the procedure is complete.
The speed of the video can be changed, and variable speed effects can be added to the reversed clip. The audio can be muted or added to.
To do this, go to the Music > Tracks > import music and you can choose your desired music, or you can use InShot’s audio library of music and pick your preferred audio.
Minor Adjustments
If you like, you can alter the video resolution or frame rate. When you’re finished, click “Save” in the top right corner to download the newly altered reverse version of your video.
Now, as is for nearly everything free in the world, there’s a catch to this awesome free tool – a watermark at the bottom of your new video. If you are looking to remove that, there are two ways you can do that.
You can choose to pay for the premium, priced at around 5 dollars, or you can watch a video.
You will be allowed to select either, when you click on the inshot watermark in the bottom right of the video, as shown below.
Related Reading
Reversing a video without using a third-party app
In case you don’t want to download a third-party app, then you can choose to do it straight from a web browser on your device.
Here’s how to go about it in five easy steps.
Upload your clip
Open up your browser and head over to
Ezgif.
You’ll be greeted by a lackluster interface with ad banners jumping at you. But trust me on this, the site does its job quite well.
Scroll down to the bottom of the page and look for “Video reverser” as shown in the image below. Tap this.

And in case you were wondering, the tool is accessible from any browser and any device, not just an iPhone.
Choose your file
Once you click on Video Reverser, it loads an interface where you select the video that you want to choose. Click on the “choose file” tab and select the video you want on your device.
You also have the option to paste the URL of the video instead. Just paste the link of the video in the “or paste video URL” box.

Upload Video
Once you’ve selected the video, tap on the Upload video button. It will upload your video to the site.

Reverse video
Once it’s been uploaded, you’ll see the “Reverse video!” button. Click on it to get the process started.
Before reversing the video, you can choose to reverse the sound and mute the audio. Once done, your new reversed clip will be ready for downloading back onto your device.
Save
Click on “save” to, well, save the video. Since it’s jumbled with the rest of the options, I have indicated where to find it.

And that’s all! Your video is now ready for the next TikTok challenge.
Conclusion
It’s worth noting that there are a couple of third-party apps and websites that can do the trick. But the ones I have shared are the ones I believe to be the best. Pretty much because they are cheap, mostly, and easy to use.
And that’s all you’ll need to reverse a video on your iPhone.