Gone are the days when you needed a dedicated scanner to digitize your documents. With an iPad, scanning important papers is now just a few taps away!
In this blog post, we will explore various methods to scan on iPad, ensuring high-quality results with ease.
We’ve covered you, from using the built-in Notes app to third-party applications and tweaking settings for improved scanning quality.
Quick Summary
- Scanning documents on an iPad is now easy and convenient, with built-in tools like the Notes app and third-party apps like CamScanner and Adobe Scan.
- To achieve high-quality scans, adjusting settings such as lighting and contrast is important before scanning. Proper document alignment and stability are also crucial for the best results.
- Users can easily save, organize, and share their scanned documents on iPads using the Files app or via email, messaging apps, or cloud storage. Multiple pages can be easily scanned using these applications’ built-in features.
Understanding How To Scan On iPad
Scanning documents on an iPad is a convenient and efficient way to capture, store, and share essential information. Gone are the days when you needed a bulky scanner or printer to digitize your paperwork.
One of the easiest ways to utilize your iPad as a scanner is through
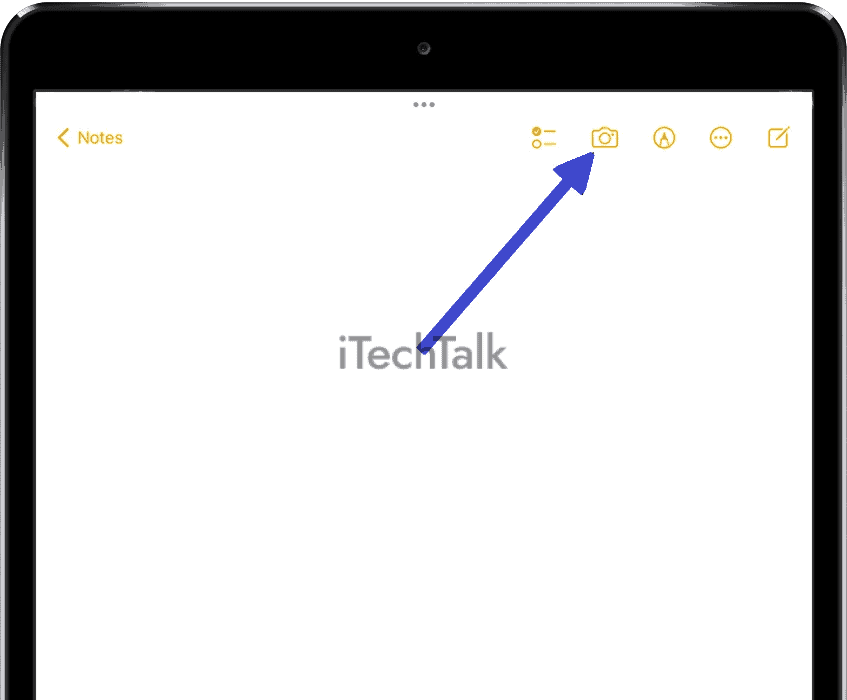
Apple’s built-in Notes app. Open the app and create a new note by tapping the pen-and-paper icon.
Once inside the note, tap the camera icon and select “Scan Document” from the list of options that appear.
Third-party apps offer even more advanced scanning features, such as OCR (optical character recognition) technology which converts scanned text into editable content – perfect for notetaking or organizing business receipts! Additionally, using these apps often allows you to save files in various formats like PDFs or JPEG images.
Remember that practice makes perfect – try experimenting with different scanning methods available on your device until you find one that works best for your needs.
How To Scan Documents On An iPad
Learn how to scan documents on your iPad easily with various options such as the Notes app, third-party scanning apps, or the camera app – making it possible to create high-quality scans in just a few taps.

Using The Notes App For Simple Scanning
The Notes app is a simple and easy-to-use built-in tool on your iPad that can be used for scanning documents.
Here are the steps to follow:
- Open the Notes app on your iPad.
- Create a new note or select an existing one in which you want to include the scanned document.
- Tap on the Camera icon located at the bottom of the screen.
- Choose “Scan Document” from the options available.
- Place your document within the frame on your screen, ensuring it is properly aligned.
- The scanner will automatically detect and capture the document when ready.
- If there is more than one page, add additional pages as needed until finished.
- Use editing tools such as crop or filters to refine your scan if necessary.
- Save and share your scanned document via email, messaging, or cloud storage.
Using the Notes app for simple scanning provides users with a quick and easy way to turn physical documents into digital format without needing third-party apps or extensive technical knowledge.
Using Third-Party Scanning Apps For More Options
Several third-party apps are available to download if you need more options than the built-in Notes app for scanning on your iPad.
Here are some popular choices:
- CamScanner – This app offers high-quality scans and an easy-to-use interface, with features like automatic cropping and image enhancement.
- Scanner Pro – Developed by Readdle, this app has advanced editing tools and supports multiple formats, including PDFs and JPGs.
- Adobe Scan – With intelligent image correction and OCR technology, Adobe Scan allows users to scan any document or form easily.
- Genius Scan – This app is designed for personal and professional use, offering features like automatic backup to cloud services and document encryption.
- Scanbot – Highly rated by users, Scanbot offers a range of features, including automatic cropping, tagging, and multi-page scanning support.
By using these third-party scanning apps alongside the built-in Notes app on your iPad, you can ensure you have all the options to quickly and efficiently create high-quality scans.
Using The Camera App For Basic Scanning
The built-in Camera app is one alternative to using the Notes app or a third-party scanning app for scanning documents on your iPad.
Here’s how to use the Camera app for basic scanning:
- Open the Camera app on your iPad.
- Place the document you want to scan on a flat surface with good lighting.
- Position your iPad camera above the document and tap on the screen to focus.
- Use the shutter button or volume up button to take a picture of the document.
- Crop the image by dragging each corner towards the center and hit “Done” when finished.
- From there, you can save it as an image or convert it into a PDF by clicking “Print,” then pinching and zooming out with two fingers, then holding for a moment before releasing it to reveal more options.
Using this method may be easier than navigating through an unfamiliar third-party app, but keep in mind that it doesn’t offer as many features or advanced editing tools as some other apps do.
Tips To Improve Scanning Quality On An iPad
To ensure the best quality scans, adjust lighting and contrast settings, properly align documents, utilize built-in editing tools, and easily scan multiple pages on your iPad – keep reading to learn more!
Adjusting Lighting And Contrast Settings
I always adjust the lighting and contrast settings before taking a picture to improve the quality of scanned documents on an iPad. This ensures that the text and images are clear and sharp.
Another useful tip is to
hold the iPad steady so that the image has no blur or distortion. If necessary, use a stand or tripod for stability.
By following these tips and techniques for scanning on an iPad, users can easily capture high-quality documents without relying on traditional scanners or printers.
Proper Document Alignment And Stability
When scanning,
proper document alignment and
stability are crucial in producing
high-quality scans. Ensuring that the document is flat and well-aligned with the camera lens is vital.
To achieve perfect document alignment and stability when using an iPad for scanning, use a tripod or a stand to hold the device steady while scanning.
Moreover, holding the device parallel to the surface rather than at an angle also helps capture sharp images.
Utilizing Built-in Editing Tools For Better Results
One of the advantages of scanning on an iPad is the
ability to edit and improve scanned documents within the device itself.
For example, if a document appears dim or blurry after being scanned, users can adjust the lighting settings using their iPad’s editing tools. Additionally, cropping the edges of a document can help eliminate any extraneous details that may have been captured during scanning.
By utilizing these built-in editing features on an iPad when scanning documents, users can produce
high-quality digital copies that are both easy to read and professional-looking.
Scanning Multiple Pages With Ease
One of the great advantages of scanning on an iPad is how easy it is to scan multiple pages and
create a multi-page document.
With the
Notes app, select “Scan Document,” after the first page has been scanned, tap “Add Page” to continue scanning.
The app will automatically detect where each page begins and ends, making creating a seamless and organized multi-page document simple.
Additionally, many
third-party scanning apps offer similar functionality with the bonus of
additional features such as automatic cropping and image enhancement.
Saving And Sharing Scanned Documents On An iPad
Users can easily manage and organize their scanned documents on an iPad by saving them in the Files app, sharing through email or messaging apps, printing directly from the device, or exporting to other programs.
Saving And Organizing With The Files App
Saving and organizing scanned documents on an iPad is made easier with the Files app.
Here are some tips for organizing your scanned documents for easy reference:
- Open the Files app on your iPad to access your saved documents.
- To create a new folder, tap the “New Folder” button at the bottom of the screen and give it a name.
- To move a file into a folder, drag and drop it into the desired folder.
- You can also tag files with keywords or phrases to make them easier to search for later.
- To share a document from the Files app, select it and tap “Share” in the toolbar, then choose your preferred sharing method from email, messaging, or cloud storage options.
- If you need to print or export a document from your iPad, select it in the Files app and tap the “Share” button. Then choose printing or exporting options.
Using these file organization methods, you can keep track of all your scanned documents and easily find what you need when needed.
Sharing Via Email, Messaging, And Cloud Storage
Sharing scanned documents on an iPad is necessary for people who need to send or store important files. Fortunately, many options are available to share these digitalized documents with others.
Here are some ways to share your scanned documents:
- Email: One of the easiest and most common ways to share scanned documents is through email. Simply attach the document to an email and send it to the desired recipient.
- Messaging Apps: Another option for sharing scanned documents is through messaging apps. Most messaging apps allow users to attach files, images, and videos within their conversations.
- Cloud Storage: Storing scanned documents on cloud storage services such as iCloud, Google Drive, Dropbox, or OneDrive allows users to access their files from any device with an internet connection. Users can then share a link or invite someone else to access the file.
- AirDrop: If both devices are Apple products and nearby, you can use AirDrop to share your document wirelessly if both devices have Bluetooth enabled.
- Print: If you need hard copies of your document, print it out directly from the Notes or Files apps where you saved it.
These sharing options offer flexibility when storing and transmitting important information digitally.
Printing And Exporting Documents
You might need to print or export scanned documents on your iPad. Luckily, this feature is built into the device’s software systems.
Here are some ways to achieve it:
- Saving as PDF: The Files app allows you to save scanned documents as PDF files which can be shared or printed from any device supporting PDF formats.
- AirPrint is an Apple technology that enables printing directly from iPads and iPhones without additional software installation.
- Exporting via email: You can share a scanned document through email by tapping on “Share” and then selecting the email option.
- Sharing via messaging apps: Users can also send scanned documents via messaging apps like WhatsApp or Telegram by tapping the share button, selecting the desired app, and sending it.
- Cloud storage sharing: Scanned documents can also be saved in cloud storage services like iCloud, Google Drive, OneDrive, and Dropbox for easy sharing across other devices.
Remember that with these features, you can access high-quality scans that can be quickly printed or shared to facilitate efficient communication between parties involved in document exchange.
Conclusion
In conclusion, learning to scan on an iPad can be a game-changer for those who want to go paperless and digitize their documents. With the
various built-in scanning options and third-party apps, anyone can easily scan documents with high-quality results.
Users can improve scanning quality further by following these tips on lighting, alignment, stability, and editing tools. The
ability to save and organize scanned documents in the Files app or share via email or messaging makes document management more convenient.