To add a border to your photo, open the Photos app and select your photo. Tap on Edit, then tap on the Markup icon. Add a square to your photo, and stretch it out to form a border around your photo. You can use the color picker to change the color of our border to any color you’d like.
Everyone has an Instagram, Facebook, or Pinterest these days, and it’s getting harder and harder to make your image to look as professional as the competition.
One of the easiest ways to do this is to add a border to your photo on your iPhone. Especially a white border, which can make your photo seem more elegant.
The good news is, you won’t have to search for “add border to photo iPhone.” I’m about to show you exactly how to add a border to your photo.
Why Add A White Border To Your Photo?
While a black or colored background may seem more visually appealing, adding a white background to your photo can help draw attention to the subject. White backgrounds give photos a clean, professional look and make the colors pop.
In addition, a white border provides a blank canvas for text or graphic overlays and makes it easy to crop the image without losing important elements.
Don’t underestimate the power of a simple white backdrop – it can truly transform your image.
Related Reading
How To Add A Border With The Photos App
It may sound difficult to add a border to your photo, but as you’re about to see, it’s actually super easy!
Step 1: Duplicate Your Photo
Before you start working on adding the white outline to your photo, it’s a good idea to duplicate your photo, so you have a backup of the original image. That way, if you mess something up while you are adding your border, you can always go back to your backup copy.
To make a duplicate of your photo, tap on the
Three Dots icon at the top right corner of the screen. When the options menu opens, tap on
Duplicate to make a copy that you can find in your Photos app.

Step 2: Enter Markup Mode
With your backup photo created, go back to the photo you want to add the white border to.
Markup mode is the key to adding a border to your photo. To enter this mode, tap on
Edit, and then tap on the
Markup icon at the top of the screen.


Step 3: Add A Square
The word border is just a fancy word for square.
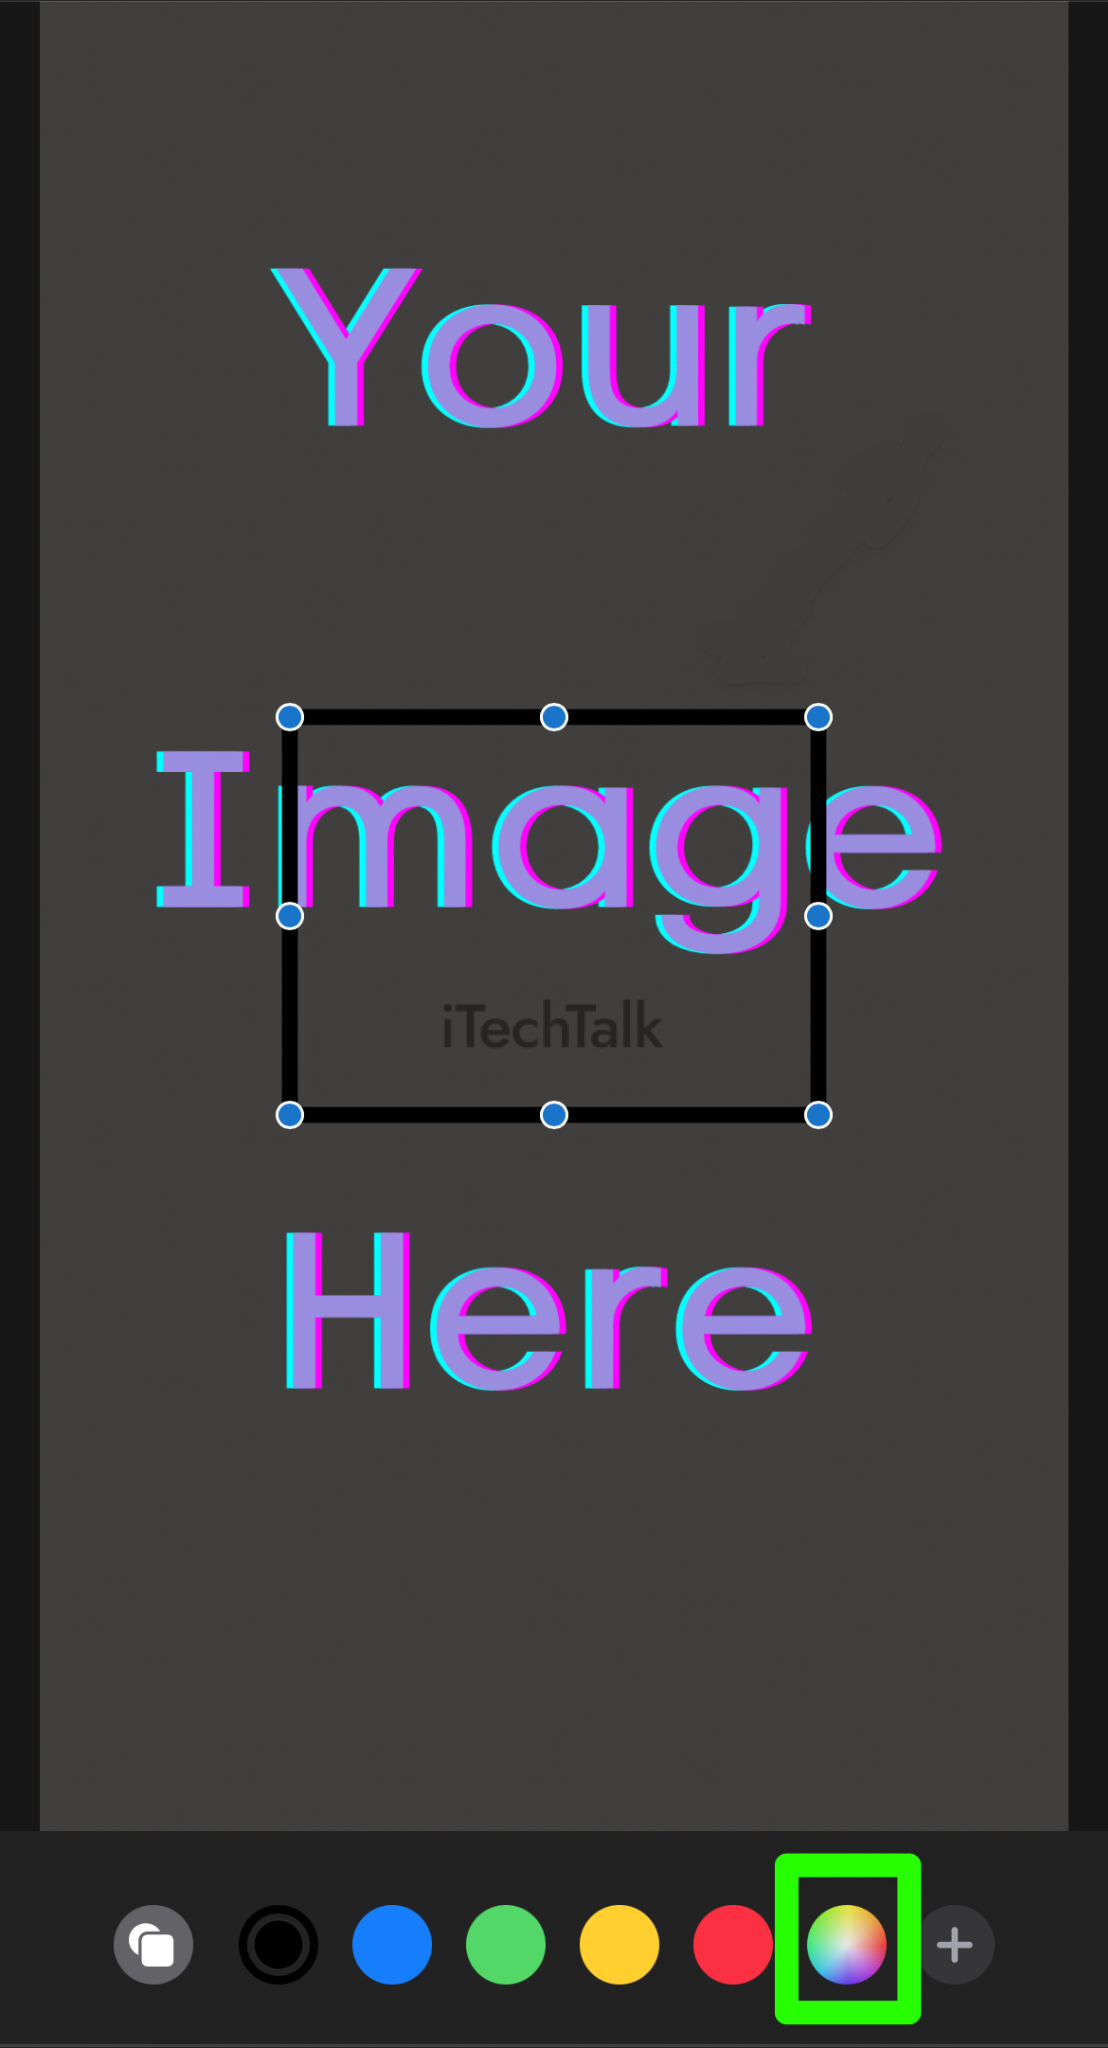
To add a square to your photo, tap on the
Plus button in the corner of the screen. Then, when the options pop up, choose the
Square icon to add a square to your photo.


Step 4: Change The Color
If you’re looking to add a white border to your photo, then you need to turn your square white.
To do this, tap on the square itself, and then tap on the
Color picker icon at the bottom of the screen.
A grid of colors will pop up for you to choose whatever color you want your border to be. You can choose whichever color you would like.
If you want to pick a white color, the brightest white color you can find is at the top left corner of the color grid.

Step 5: Make The Square Thicker
The base square is a bit thin for a border. You can fix this by selecting the square, and then tap the button in the lower left corner.
You will be presented with a few size choices to choose from. For a thicker border, choose the size that is all the way to the right.

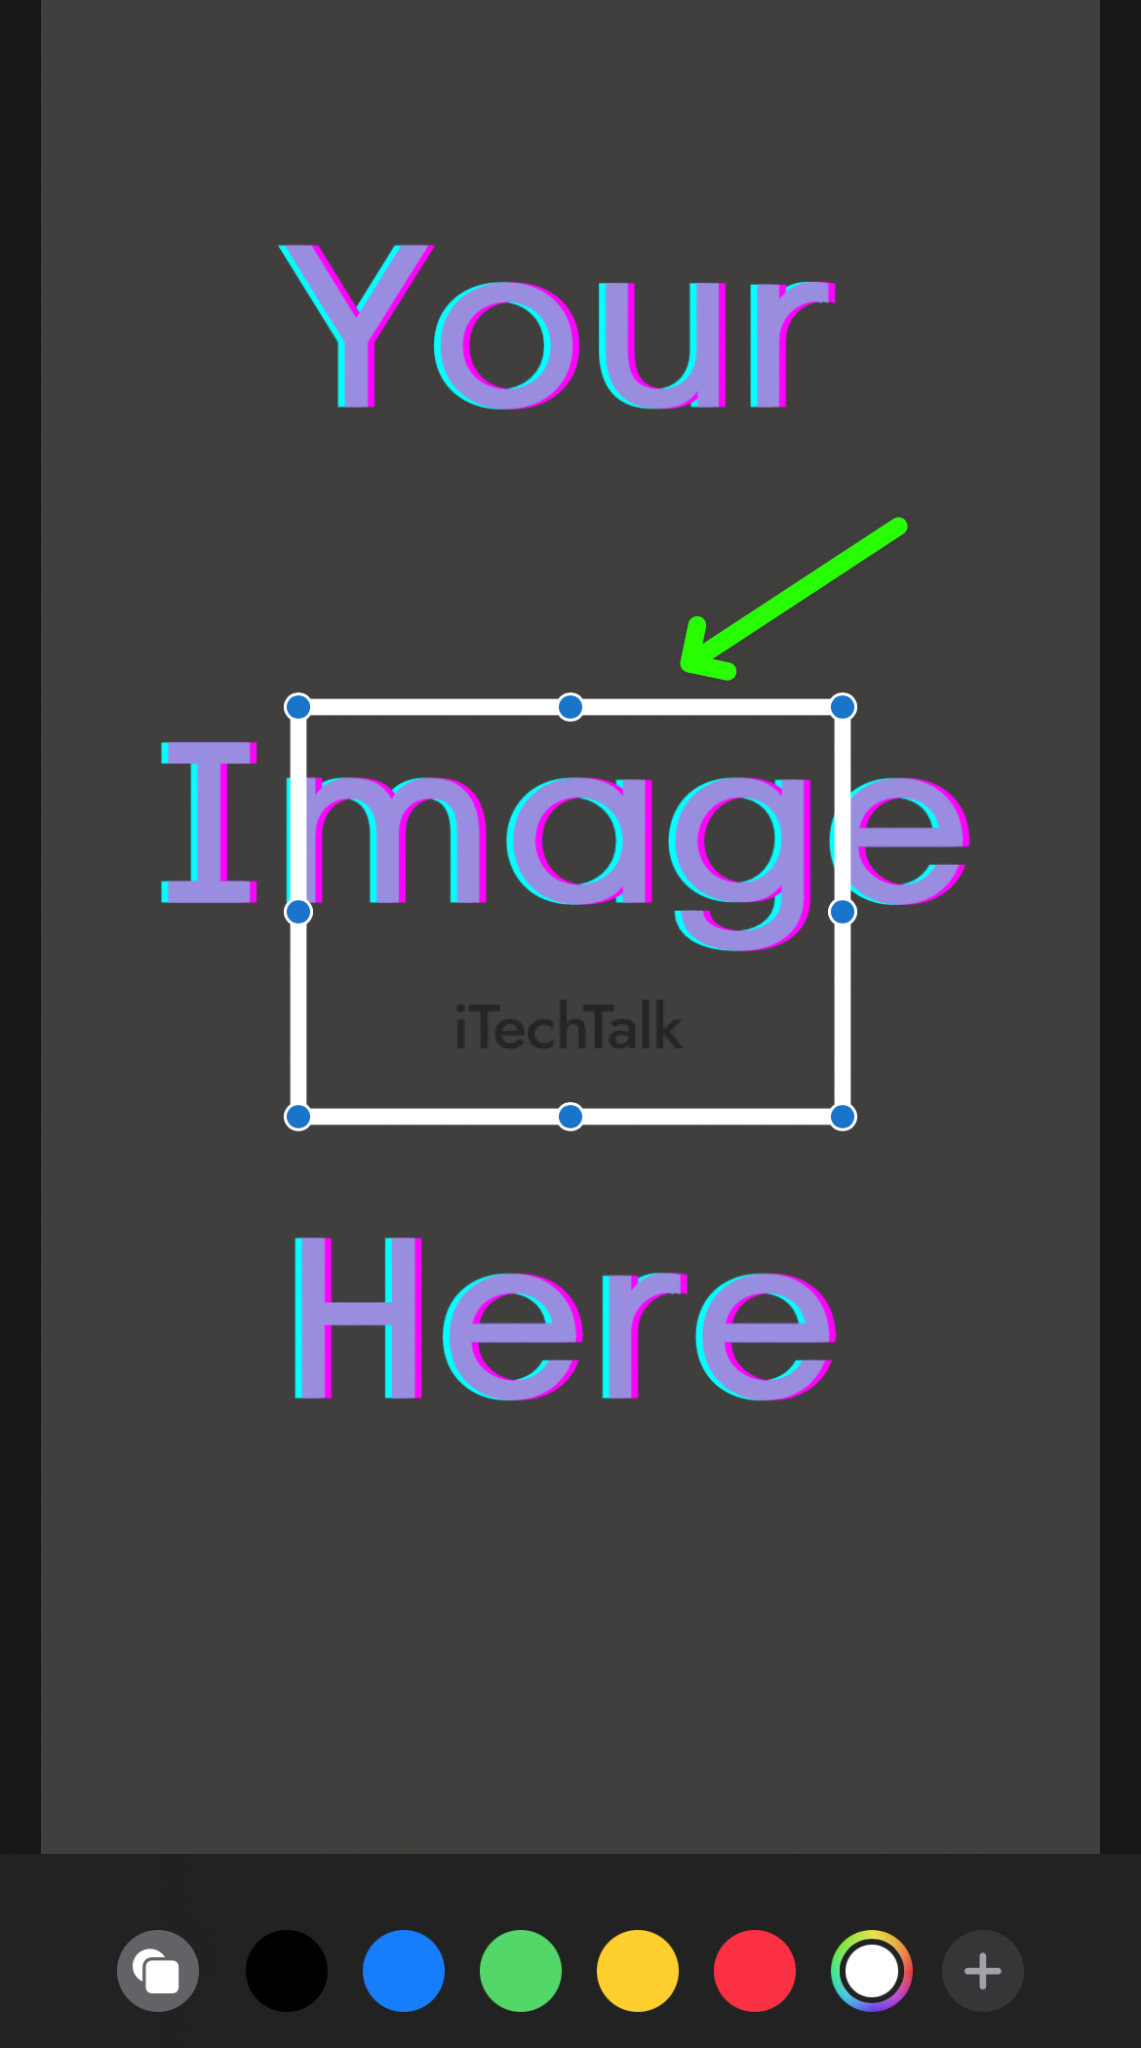
Step 6: Stretch Out Your Square
Now it’s time to form the border for your photo. To do this, line the square up to one of the corners of the photo. Then, using one of the corner handles, stretch the square out as far as you can to the other side of the photo.
Be careful not to stretch the square out too far, or you will cut off part of your border.

To finish shaping your border, pull your square from the middle, down to the bottom of the photo. You now have a white border around your photo.
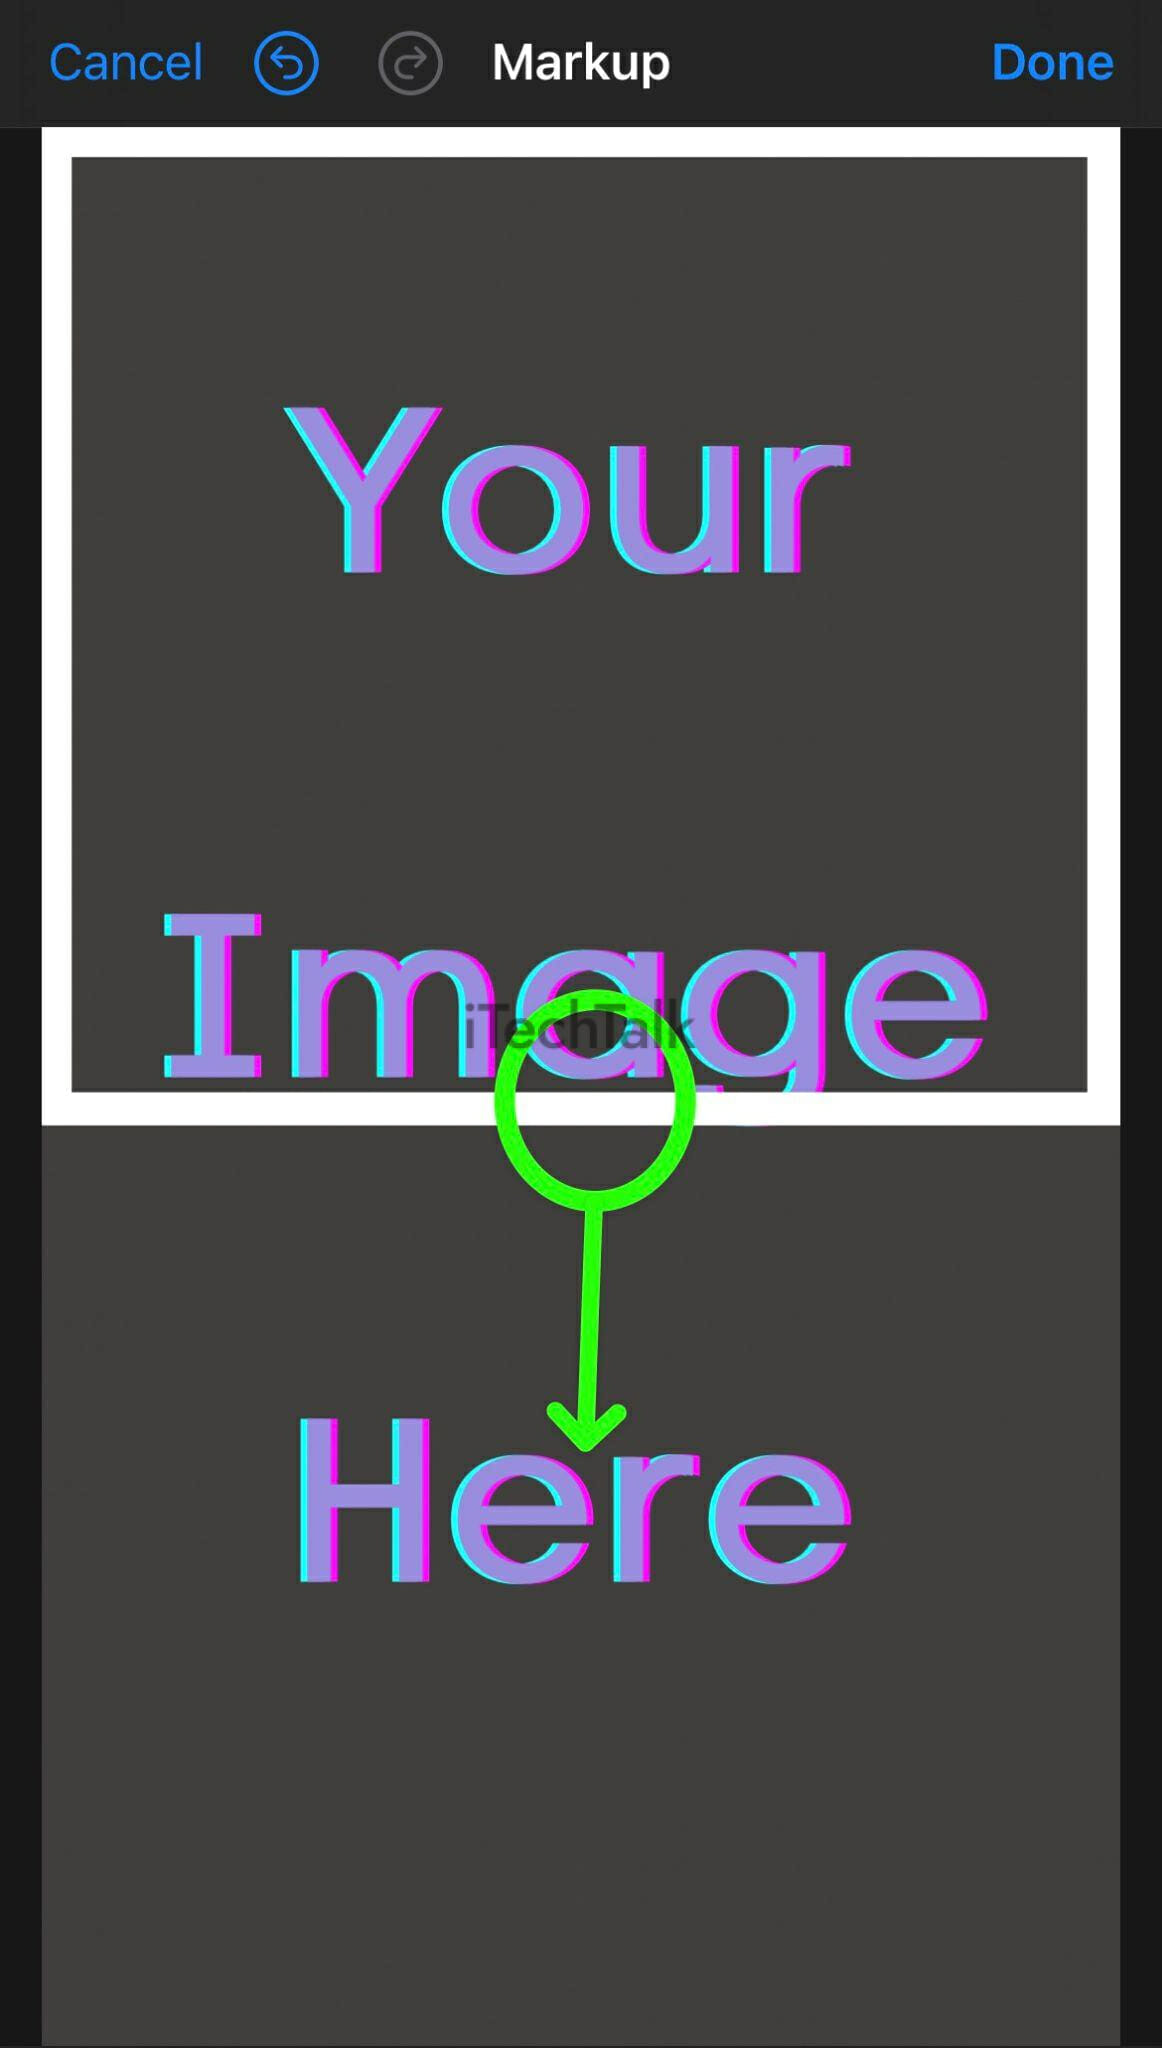

Step 7: Make Your Border Even Thicker (Optional)
It’s possible that the border you added to your photo is not thick enough for your tastes. Fixing this is just as easy as adding the original border.
Add a new white square to your photo using the same steps as above.
Then, line your new square up with one of the corners of the white border. Use one of the corner handles to stretch the square all the way over to the inside edge of the border. Be careful not to over-stretch the square and cut it off too much.

To finish thickening up your border, stretch the square down to the inner edge of the border.
You can repeat this process as many times as you need to in order to get your border as thick as you need it to be.

I told you making a border for your photo was easy.
If you have any questions about this process, please leave a comment.
Also, please share this article as much as you can so everyone will know how to add a white border to their photos.