You can follow many best practices to add a layer of privacy for both, your iPhone as well as the data stored on it. This guide will work even if you have a slightly older operating system, such as iOS 14.
There is a lot of data stored in an iPhone. This data getting into the wrong hands (or even worse, your phone getting misplaced) can mean trouble. However, there are steps you can take to
increase the privacy of your data.
If you are wondering how to turn on the privacy screen on your iPhone, this guide will help. Following the steps given will safeguard your control over your apps and data.
[toc]
What you will need to turn on privacy screen on iPhone
- An iPhone, running a recent version of iOS – Newer releases have come out with better privacy features built-in to the operating system. You will benefit a lot if your iPhone is upgraded to the latest release available for your model. Security and privacy features built into the operating system work best with the iPhone. It is because built-in privacy features minimize how much damage can occur if the device ever gets compromised.
- A working internet connection – You will need this mainly to download certain apps and to work with connected services such as iCloud and the App store. Downloading large apps over cellular data can cost a lot, so using Wi-Fi is recommended.
- An Apple ID – You need to remember the credentials for your Apple ID account as you will need to sign in to Apple services while following these steps.
How to Turn on Privacy Screen on iPhone
Step 1: Keep a tough passcode
You probably already have a lock screen passcode to access the iPhone, but is it a code that is
not easy or predictable to hack and yet
easy to remember? Since it acts as the
key to unlocking your iPhone, do not underestimate the importance of this step.
Step 2: Use biometrics
Authentication based on biometrics is often
more secure than relying on passwords. Also, there is nothing to remember in this case, so it is
convenient as well. Not all iPhones have features like Face ID or Touch ID. However, if your iPhone has any of these, using them will increase the iPhone’s security and privacy. Turn this option on.
Once set up properly, you can use the camera for
face detection or even use your
fingerprints to unlock your iPhone at the lock screen.
Related Reading
Step 3: Set up the Find my app
Built-in security features help prevent anyone from accessing your data without your consent, but it pays to be prepared for an emergency. If you ever happen to misplace your iPhone, the
Find My app will help you to find it and also
restrict what can be done with the iPhone while it is away from you. This way, you can have some peace of mind about your iPhone if it’s lost or stolen.
Once the tracking is set up, you can then find your iPhone easily using location services. You can even lock your phone remotely to make sure nobody else has access to information on it.
Step 4: Secure your Apple ID
Your Apple ID is used to store a lot of data about you. It also lets you access
iCloud and other related services. You should make sure that the credentials are safe and two-factor authentication has been set up properly.
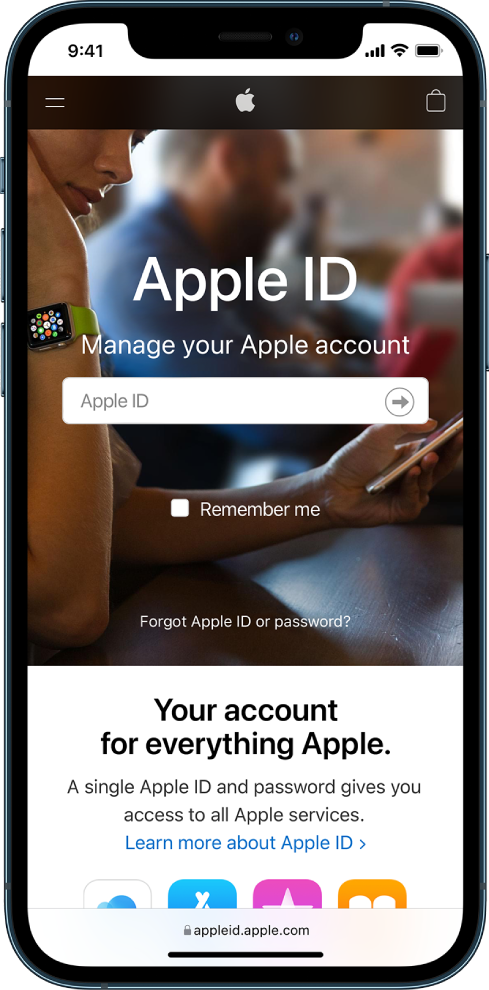
(Credit: Apple)
For two-factor authentication, there are many third-party apps available that will act as
authenticators. However, starting from iOS 15 onwards, there is a
built-in authenticator app that will help you fill in verification codes easily.
Step 5: Sign in with Apple wherever possible
Many third-party apps are available in the App store and also some websites have begun allowing users to sign in with their Apple ID. This
limits the amount of data that the apps can collect about you.
There are still many websites and apps which don’t use this feature. So, while signing up for them, it will be helpful to let your iPhone
generate and remember a strong password. This way, as long as you have access to your iPhone, you won’t have to worry about remembering a password that’s tough to crack.
The next time you need to sign in and are asked to enter your credentials, you can just autofill information. It is still advisable to change your password regularly.
Step 6: Review the data and location shared with apps
Your iPhone allows you to easily control what data you share with apps. This applies to apps that want to access your
location as well. Apart from the data on your iPhone, Apple support even has guides that will help you control the
advertising that you see in the App store as well as some apps like
Apple News and
Stocks.
Step 7: For each app that you have, check how it ensures your privacy
All apps on your iPhone store some data. Each app has a page for it in the App store. This page contains a summary of the
privacy-related practices that the app follows and makes it clear what data is stored.
If you are using iOS 15.2 or later, you can even check the
App Privacy Report to know how exactly the apps use the permissions that you granted as well as their activity on the network.
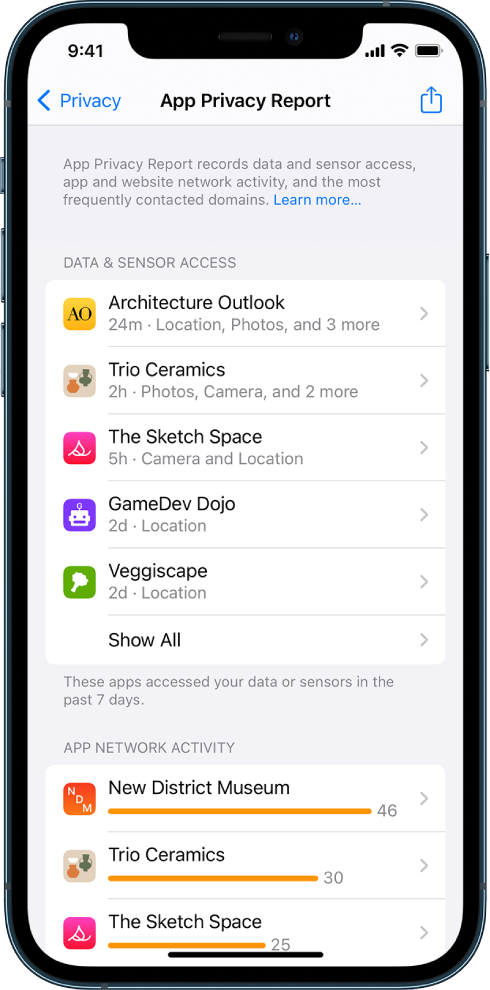
(Credit: Apple)
Step 8: Browse privately in Safari
Safari has features to
block trackers as well as to keep your browsing activities private from anyone else who uses the same iPhone. It also
warns against visiting malicious websites. You can control these settings in Safari to keep your browsing and data protected, in addition to the private browsing that Safari already offers.
This way, you can protect confidential information from the watchful eyes of prying individuals. E.g. if you want to hide your search history, private browsing can help.
Step 9: Control permissions to track
Recent versions of iOS force apps to ask your permission to carry out certain tasks. It is possible to
change this at any point, later on, no matter whether you initially granted or denied your consent. Going through these privacy settings will help you be in better control of your data and keep your iPhone secure.
Step 10: Use Mail Privacy Protection
This is available in iOS versions 15 and later. You can use Mail Privacy Protection to make sure that those who send you mail are not able to easily keep a track of what you do with the mail. This is a feature built-in to their system.
Step 11: Avoid sharing your personal email address
To help prevent being spammed, many users use
temporary, disposable e-mail addresses given out by third-party services like Mailinator. However, starting from iOS version 15.2, you can generate unique and random email addresses which you can give out in place of your personal email address. This feature requires
subscribing to iCloud+.
Conclusion
We hope you learned about plenty of ways that will increase the privacy of your iPhone and its data. It always pays to be safe than sorry and hence, these steps will put you in control of who can access data about you that is stored on your iPhone.
If you want to go the extra mile, you can even limit screen time on your iPhone. Do not forget to share the article with fellow iPhone users!