Ever accidentally deleted a much-needed file on your MacBook? Time Machine, an inherent feature of the MacOS, is here to save your day. This brilliant tool lets you travel back in time – virtually speaking – to retrieve deleted or lost files.
Our step-by-step guide will demystify the process to Time Machine To Restore Files on Mac and ensure you never lose another valuable file again! Ready? Let’s dive into the world of digital salvation.
Quick Summary
- Time Machine is an automatic backup feature on MacOS that creates incremental backups of your files, ensuring you always have a recent copy.
- You can use external hard drives, Time Capsule, NAS devices, or cloud-based storage services to store your Time Machine backups.
- To restore files using Time Machine, access the app through Launchpad or the Applications folder and navigate through your backups to select and restore the files you need.
How Time Machine Works
Time Machine works by automatically creating incremental backups of your Mac, ensuring that you always have a recent copy of your files.
Overview of Time Machine
The Time Machine is an innovative application pre-installed on your Apple Macbook, primarily designed for backing up and restoring files.
Its most distinctive attribute is its automatic backup feature, which routinely saves your data to an external storage device or network-attached storage (NAS).
Operating seamlessly in the background, it keeps a keen eye on changes to files and folders while you work on other tasks.
In case of accidental file deletions or hardware failures, Time Machine becomes a lifesaver by allowing the recovery of individual files or even the entire disk.
The beauty lies in its simplicity – all backups are conveniently available through the Time Machine app in Launchpad or Applications folder.
Automatic backups
Time Machine on your Mac ensures that your files are backed up automatically, giving you peace of mind knowing that your valuable data is protected.
With Time Machine, you don’t have to remember to manually backup your files because it takes care of it for you.
This means that every hour, Time Machine scans your Mac for any changes and creates a backup of those modified files.
So if anything happens to your computer or important documents get deleted accidentally, you can restore them easily using Time Machine.
Additionally, Time Machine uses incremental backups, which only back up the changes made since the last backup instead of duplicating everything each time. This efficient method saves storage space and makes the process faster.
Plus, with various backup storage options such as external hard drives or network-attached storage (NAS), you can choose what works best for you and ensure that all your files are safely stored away.
Incremental backups
Time Machine uses incremental backups to efficiently store your files and conserve storage space on your Mac. Instead of creating a new backup every time, Time Machine identifies the changes made since the last backup and only saves those differences.
This means that subsequent backups are much faster because they only need to update the modified or newly added files.
With incremental backups, you can rest assured knowing that all your important data is backed up regularly without taking up excessive storage space.
This allows you to easily recover specific file versions from different points in time, giving you more flexibility when restoring files on your Mac.
Backup storage options
- You can use an external hard drive to store your Time Machine backups. Simply connect the external drive to your Mac and set it as the backup disk in Time Machine preferences.
- Time Capsule is another option for backup storage. It is a wireless router with built-in storage specifically designed for use with Time Machine.
- Network-attached storage (NAS) devices can also store Time Machine backups. These devices connect to your home network and provide a centralized location for storing backups.
- You can use a network-attached storage device that supports removable drives if you prefer a more portable option. This allows you to easily swap out drives for off-site storage or additional backup redundancy.
- Some users may back up their files to cloud-based storage services like iCloud Drive or third-party providers like Dropbox or Google Drive. This provides the added benefit of accessing your files from anywhere with an internet connection.
- It’s important to note that when selecting a backup storage option, you should consider the size of your backups and ensure that the chosen storage solution has enough capacity to accommodate future backups.
How to Use Time Machine To Restore Files on Mac
To restore files using Time Machine, access the Time Machine app on your Mac and follow the step-by-step instructions to select and restore the files you need. Don’t miss out on this essential guide that effortlessly walks you through the process.
Accessing Time Machine
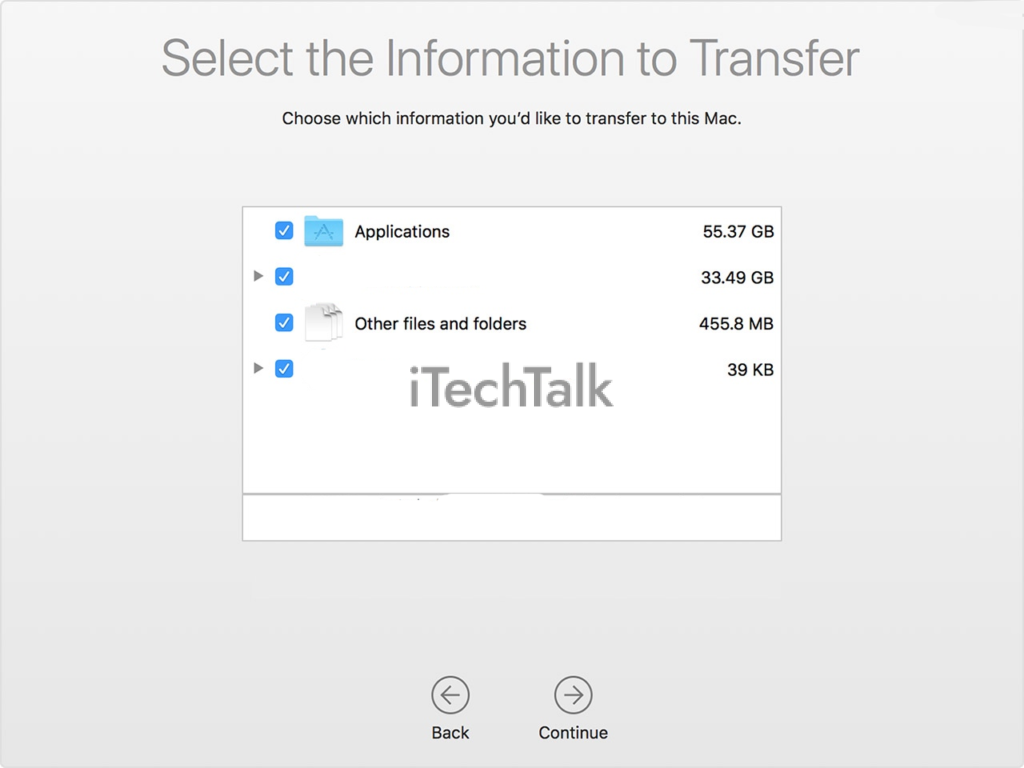
To access Time Machine on your Mac, open the Time Machine app found in the Launchpad or Applications folder. Once in the app, you can easily navigate your backups and choose which files or folders you want to restore.
You don’t need any special technical knowledge to use Time Machine – it’s designed to be user-friendly and intuitive.

If you prefer an alternative method of accessing Time Machine, you can do so through System Preferences. Go to the Apple menu at the top left corner of your screen, click “System Preferences,” then select “Time Machine.”
From there, you can view your backups and restore specific files.
Another option for accessing and restoring files from Time Machine is by using Finder. You can open a backup directly from Finder and copy the files or folders you want onto your Mac.
This method gives you even more flexibility when selecting items you want to restore.
Navigating through backups
To navigate through backups using Time Machine on your Mac, follow these simple steps:
- Open the Time Machine app by locating it in the Launchpad or clicking on Applications.
- Once in the Time Machine app, you will see a visual representation of your backups, with the most recent on the right side.
- Use the timeline on the right to scroll through your backups and find the specific date and time you want to restore files.
- As you move along the timeline, your files and folders change to reflect their state at that particular backup.
- To view a file or folder, click on it. You can use Quick Look to preview its contents before deciding if you want to restore it.
- If you have a lot of files or folders to browse through, you can use the search bar at the top-right corner of the screen to quickly find what you’re looking for.
Selecting and restoring files
To restore files using Time Machine on your Mac, follow these simple steps:
- Open the Time Machine app. You can find it in your Launchpad or Applications folder.
- Once you are in the Time Machine app, navigate through the backups using the timeline on the right side of the screen. A snapshot of your files represents each backup.
- Use the arrow keys to browse different dates and times to find the backup you want to restore.
- Once you have selected a backup, you will see a window with all the files and folders that were backed up during that time.
- To select specific files for restoration, click on them once to highlight them. You can select multiple files or folders by holding the Command key while clicking on them.
- After selecting your desired files, click the “Restore” button at the bottom of the window.
- Depending on the size of your selected files and your system’s performance, it may take some time for Time Machine to restore them to their original location or an alternate location if you choose.
- Once the restoration process is complete, you can close the Time Machine app and access your restored files as usual.
Restoring to original or different locations
When restoring files using Time Machine on your Mac, you can choose whether to restore them to their original location or a different location.
Here’s how you can do it:
- Restoring files to the original location:
- Select the file or folder you want to restore from your Time Machine backup.
- Click on the “Restore” button in the Time Machine app.
- Your selected file or folder will be restored to its original location on your Mac.
- Restoring files to a different location:
- Open the Time Machine app and navigate to the desired backup date containing the files or folders you want to restore.
- Select the file or folder you want to restore and right-click on it.
- Choose the “Restore…” option from the context menu.
- Select a new destination for restoring the file or folder in the dialogue box that appears. This could be any location on your Mac, such as a specific folder or desktop.
- Click “Restore”, and Time Machine will restore the selected file or folder to your chosen destination.
Tips for Using Time Machine Effectively
Regularly check the backup status to ensure Time Machine runs smoothly and back up your files as scheduled.
Regularly check the backup status
To ensure the safety of your valuable files and data, it is crucial to check the backup status on your Mac regularly. Doing so lets you stay informed about any issues or potential backup problems.
Time Machine makes this process easy by providing a clear overview of the current state of your backups.
You can access this information directly in the Time Machine app, where you’ll find important details such as the last successful backup date and time and any failed or postponed backups.
By checking your backup status regularly, you can promptly address any concerns and ensure that all your files are adequately protected.
Managing backup storage space
To effectively manage the storage space of your Time Machine backups on your Mac, it’s important to check and optimize the size of your backups regularly.
Time Machine automatically manages backup space by deleting older snapshots as needed when storage is running low.
However, you can also manually customize some settings to ensure efficient utilization of your backup drive.
One way to manage storage space is by excluding unnecessary files and folders from being backed up. You can add specific items or entire directories to the exclusion list by accessing the Time Machine preferences in System Preferences.
This ensures that only crucial data is backed up, freeing up valuable storage space for other important files.
Another useful tip is to monitor how much space each backup takes. You can do this by right-clicking on a file or folder within Time Machine and selecting “Get Info.”
This shows you the size of that particular item within each backup snapshot, allowing you to identify larger files that may be taking up excessive storage.
Additionally, if your backup drive runs out of space, consider getting a larger external hard drive or using multiple drives to back up your Mac.
This allows for more headroom storing older backups without constantly deleting them due to limited capacity.
Customizing backup settings
Customizing backup settings in Time Machine allows you to tailor your backup preferences to your specific needs.
Here are some ways you can customize your backup settings on your Mac:
- Exclude files or folders: You can exclude certain files or folders from being backed up by Time Machine. This can be useful if there are large files or unnecessary items you don’t need to include in your backups.
- Set backup intervals: Time Machine automatically backs up your Mac every hour by default. However, you can adjust this interval to suit your preferences. For example, if you want more frequent backups, you can set it to every 30 minutes, or if you prefer less frequent backups, you can increase the interval.
- Manage backup storage space: If you’re running low on storage space for backups, Time Machine allows you to manage and delete older backups manually. This way, you can free up space on your backup drive without compromising the integrity of your most recent backups.
- Control backup destinations: With Time Machine, you can choose your backup destinations. You can select an external hard drive, a network-attached storage (NAS) device, or a remote server as your backup location.
- Encrypt backups for added security: If privacy and security concern you, Time Machine offers the option to encrypt your backups with a password. This ensures that only authorized users can access and restore the backed-up files.
- Customize notifications: Time Machine provides notifications about the status of its backups. You can choose how often these notifications appear and whether or not they should display onscreen alerts.
- Enable email notifications: In addition to onscreen notifications, Time Machine also supports email notifications about the status of backups. You can set up email alerts for successful or failed backups to stay informed about potential issues.
Troubleshooting common issues
If you encounter any issues while using Time Machine to restore files on your Mac.
Here are some common problems and their solutions:
- Backup not found: If Time Machine cannot locate your backup, double-check that the backup drive is connected properly to your Mac. Also, ensure the drive is formatted correctly for use with Time Machine.
- Slow restoration: Restoring large files or many files can take time. Be patient while the restoration process completes. Avoid interrupting the process by disconnecting the backup drive.
- Error messages: If you receive error messages during file restoration, note the specific error code or message and search online for possible solutions. Apple’s support website or user forums might have helpful information.
- Missing files or folders: If you can’t find certain files or folders after restoring from Time Machine, ensure you explore the correct backup date and time in Time Machine. Make sure you haven’t accidentally skipped a backup.
- Disk space issues: If your Mac’s hard drive lacks sufficient space for restoring files from Time Machine, delete unnecessary files or move them to an external storage device before attempting the restore again.
- Corrupted backups: In rare cases, backups created by Time Machine may become corrupt or inaccessible. Try restarting your Mac and reconnecting the backup drive to see if it resolves the issue. Additionally, running First Aid in Disk Utility might help fix disk-related problems.
- Compatibility conflicts: If restoring files to a different Mac with a different operating system version, ensure that both systems are compatible to avoid potential conflicts.
Conclusion
In conclusion, Time Machine is a powerful tool for Mac users to restore files. Following the simple steps outlined in this guide, you can effortlessly recover deleted or lost files on your Mac.
With its user-friendly interface and intuitive navigation, Time Machine ensures that your valuable data is always protected and easily retrievable. Don’t let a filing mishap cause unnecessary stress – rely on Time Machine to return those important documents with just a few clicks!