To Crop Screenshot On Mac use the built-in screenshot cropping tool, the Preview app, or the Photos app.
Struggling to crop your screenshot on a Mac? Did you know there are
multiple ways to accomplish this, including
using built-in tools and keyboard shortcuts?
This blog post will
guide you through several methods to Crop Screenshot On Mac, simplifying the process.
Keep reading; soon, you’ll be an expert in
capturing and editing screenshots on your Mac!
Quick Summary
- There are multiple ways to crop a screenshot on a Mac, including the built-in screenshot cropping tool, the Preview app, the Photos app, and online third-party tools.
- Keyboard shortcuts such as Command + Shift + 3 and Command + Shift + 4 make it quick and easy to capture screenshots on a Mac and later crop them.
- The Markup tool in Preview allows users to easily add text, shapes, and their signature directly onto cropped screenshots for further customization.
- Advanced editing software like Movavi Screen Recorder offers additional features such as precise cropping, color adjustments, annotation options, filters/effects application, and resizing for different platforms.
Methods to Crop Screenshot On Mac
You can use several methods to crop a screenshot on your Mac, including the
built-in screenshot cropping tool, the Preview app, the Photos app, and online third-party tools.
Using The Built-in Screenshot Cropping Tool
To crop a screenshot on a Mac, there’s no need to download additional software when you have an
inbuilt screenshot cropping tool.
One of the simplest ways to
capture and crop screenshots is by utilizing this tool.

Here’s how you can do it:
- Press Command + Shift + 4 on your keyboard. This command enables the screenshot mode and alters your cursor into a crosshair.
- Click and drag the crosshair over the area of the screen you’d like to capture.
- Release the mouse button or trackpad to take the screenshot.
- A thumbnail of your screenshot will appear briefly in the bottom right-hand corner of your screen.
- Double-click this thumbnail to open your screenshot in the built-in editing tool.
- Click the Crop icon at your screen’s top-right corner to initiate cropping mode.
- Drag and adjust the corners or sides of the crop box until only what you want to keep is inside it.
- Hit ‘Done’ once you are satisfied with your cropped image.
Utilizing the Preview App
The
Preview app is a
versatile tool that comes pre-installed on your Mac, allowing you to
easily crop and edit screenshots.
Here’s how to utilize it:
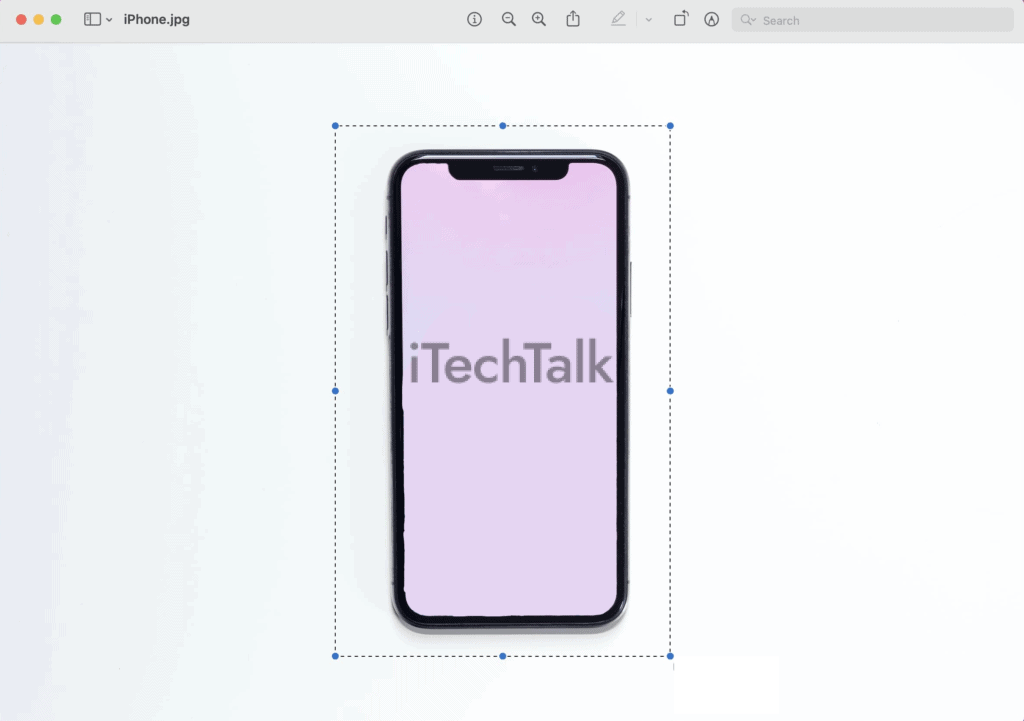
- Open the screenshot you want to crop in the Preview app.
- Click on the “Show Markup Toolbar” button in the toolbar at the top of the window.
- In the Markup Toolbar, click the “Crop” icon, which looks like a square with dashed lines.
- Once you’ve clicked the Crop icon, a selection box will appear on your screenshot.
- Click and drag the handles of the selection box to adjust it, and select only the portion of the screenshot you want to keep.
- To fine-tune your selection, click inside the selection box and move it around.
- When satisfied with your selection, press Enter or click outside the selection box to apply the crop.
Using the Photos app
To crop a screenshot on your Mac
using the Photos app, follow these steps:
- Open the Photos app on your Mac.
- Locate and select the screenshot you want to crop from your photo library.
- Click on the “Edit” button at the screen’s top-right corner.
- In the editing toolbar that appears, click on the “Crop” icon.
- You will see a frame surrounding your screenshot, which you can adjust by dragging its edges or corners.
- Once you select the desired area, click the “Done” button to apply the crop.
Online Third-Party Tools
Online third-party tools offer another option for cropping screenshots on your Mac. These tools provide
additional features and flexibility compared to the built-in options.
Here are some popular online tools you can use:
- Snip & Sketch: This free web-based tool lets you capture and crop screenshots directly in your browser. It offers a simple interface with easy-to-use cropping tools.
- Lightshot: With Lightshot, you can take screenshots of any specific area on your screen and crop them instantly. It also comes with basic editing features like text annotation and highlighting.
- Nimbus Screenshot: This tool offers many screenshot-capturing and editing options. You can easily crop your screenshots using its intuitive cropping tool. Nimbus Screenshot also lets you add comments, arrows, and additional annotations.
- Awesome Screenshot: As the name suggests, this tool provides an array of awesome features for capturing and editing screenshots on Mac. Besides cropping, it allows you to blur sensitive information, highlight specific areas, and even record videos on your screen.
Keyboard Shortcuts for Cropping Screenshots on Mac
Cropping screenshots on your Mac is easier with
handy keyboard shortcuts. These shortcuts will save you time and make the cropping process more efficient.
Here are the keyboard shortcuts you need to know:
- Command + Shift + 3: This shortcut captures a full screenshot of your Mac screen.
- Command + Shift + 4: This popular shortcut lets you capture a specific portion of your screen. Simply press these keys, and your cursor will turn into a crosshair. Click and drag this crosshair to select the area you want to capture.
- Command + Shift + 4, then Spacebar: After pressing Command + Shift + 4, you can press the spacebar to switch to window selection mode. This allows you to capture a specific window instead of selecting an area manually.
How to Edit and Fine-Tune Cropped Screenshots on Mac
You can further utilize the powerful editing features to enhance your cropped screenshots on Mac. One way to do this is by using the Markup tool in Preview.
With Markup, you can easily add text, shapes, and your signature directly onto the screenshot.
Additionally, if you require more advanced editing options like adjusting colors or adding visual effects, you can consider using specialized software such as
Movavi Screen Recorder.
These tools will enable you to fine-tune cropped screenshots, making them visually appealing for any purpose or project.
Using the Markup Tool in Preview
The
Markup tool in Preview is a convenient option for Macbook owners who want to crop and edit their screenshots. This tool allows you to customize your images without needing external software.
Here’s how you can use the Markup tool in Preview:
- Open the screenshot you want to crop in Preview.
- Click on the “Show Markup Toolbar” button at the screen’s top.
- In the toolbar, click on the “Selection” tool (it looks like a dotted rectangle).
- Click and drag over the area of the screenshot that you want to keep.
- Once selected, go to the toolbar again and click the “Crop” icon.
- The screenshot will be cropped to your selected area.
Using Advanced Editing Software Like Movavi Screen Recorder
If you’re looking for more advanced editing options to crop and fine-tune your screenshots on a Mac, you may want to consider using Movavi Screen Recorder.
This powerful software offers a range of features that allow you to take your screenshot editing game to the next level.
Here are some ways Movavi Screen Recorder can help you enhance your cropped screenshots:
- Crop with precision: Movavi Screen Recorder allows you to crop your screenshots with pixel-level precision. This means you can easily select the exact area of the screenshot you want to keep, ensuring a clean and professional look.
- Adjust colors and contrast: With Movavi Screen Recorder, you can easily adjust colors and contrast in your cropped screenshots. This is particularly useful if you want to enhance the visual appeal of your screenshots or match them to a specific color scheme.
- Add annotations and text: Movavi Screen Recorder provides various annotation tools that allow you to add arrows, shapes, text, and other elements to your cropped screenshots. This is perfect for highlighting important details or adding explanatory notes.
- Apply filters and effects: If you want to give cropped screenshots a unique look, Movavi Screen Recorder offers various filters and effects that can be applied with just a few clicks. You can choose from black-and-white, sepia, vintage, and many more options.
- Resize and optimize for different platforms: With Movavi Screen Recorder, resizing your cropped screenshots for different platforms is a breeze. Whether you need a specific size for social media posts or website content, this software ensures that your screenshots always fit perfectly.
Conclusion
In conclusion, cropping screenshots on a Mac is a
simple and efficient process that can be done using the
built-in screenshot tool or third-party applications like Preview.
With the ability to
easily capture and crop specific areas of your screen, you can enhance your screenshots and highlight important details.
Whether you’re an Apple MacBook owner or just looking to
optimize your screenshot editing workflow, these techniques will help you effortlessly crop screenshots on your Mac.
Give it a try and elevate your visual communication game today!