If you want to save a Facebook video to your iPhone, Facebook won’t let you do so with the Facebook app alone. The most efficient way to solve this problem is to use the iPhone’s screen recorder. You can do this by pulling down from the top of your screen and tapping the Screen Record button in the Control Center.
Then, play your Facebook video as you would normally. When the video ends, tap on the screen record button again to turn it off. You can find your downloaded video in the Photo’s app.
If you’re like most people, you probably spend a good chunk of your day on Facebook. You’ve probably seen some pretty funny or interesting videos that you’d like to save for later. The problem is, Facebook doesn’t let you save videos with their official app.
Thankfully, there are two easy ways to work around this problem and download the video to your iPhone. In the following article, I’ll cover both ways in the article below.
Use The Screen Recorder To Download Facebook Videos
One of the easiest ways to save a Facebook video on your iPhone is to use the built-in screen recorder. The quality of the video may go down by using this method, but overall, this is the best and quickest way to save a Facebook video to your iPhone.
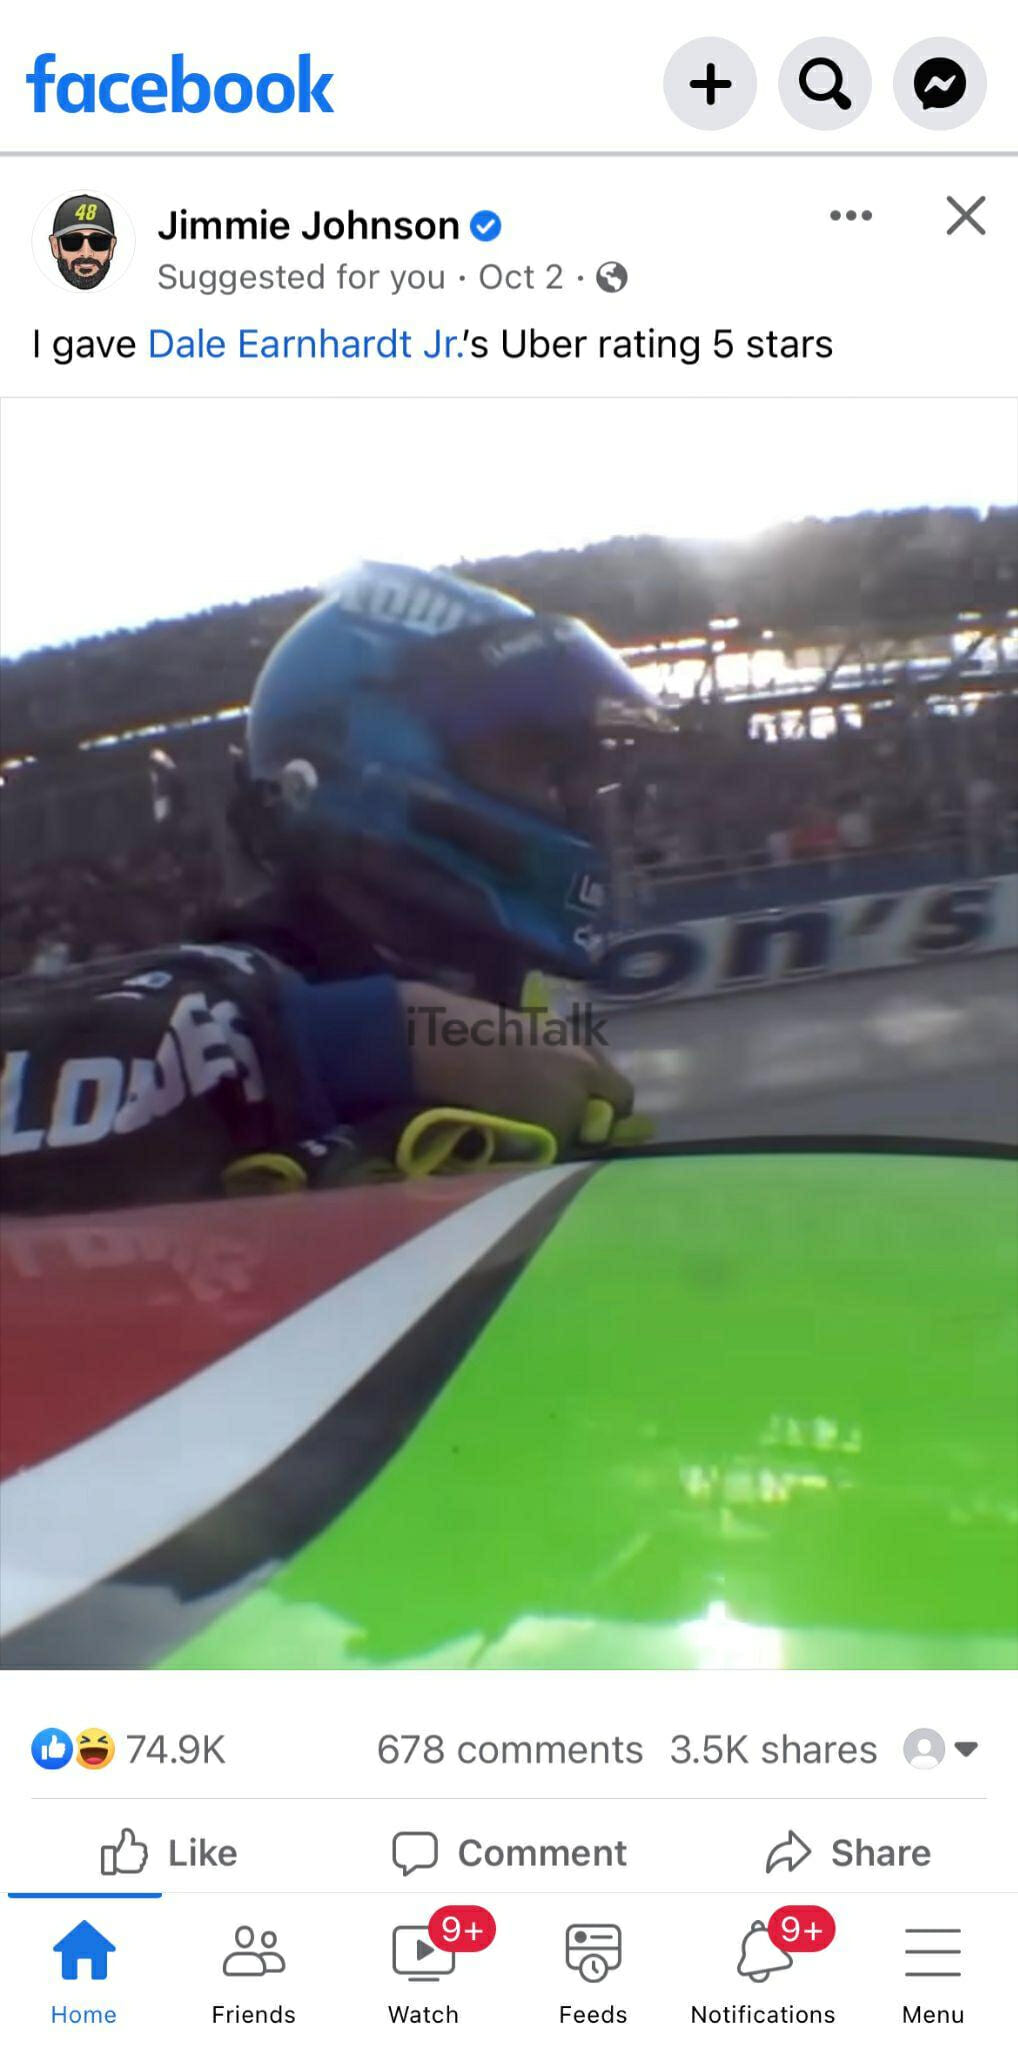
1. Open up your Facebook app and find the video that you wish to save to your iPhone.
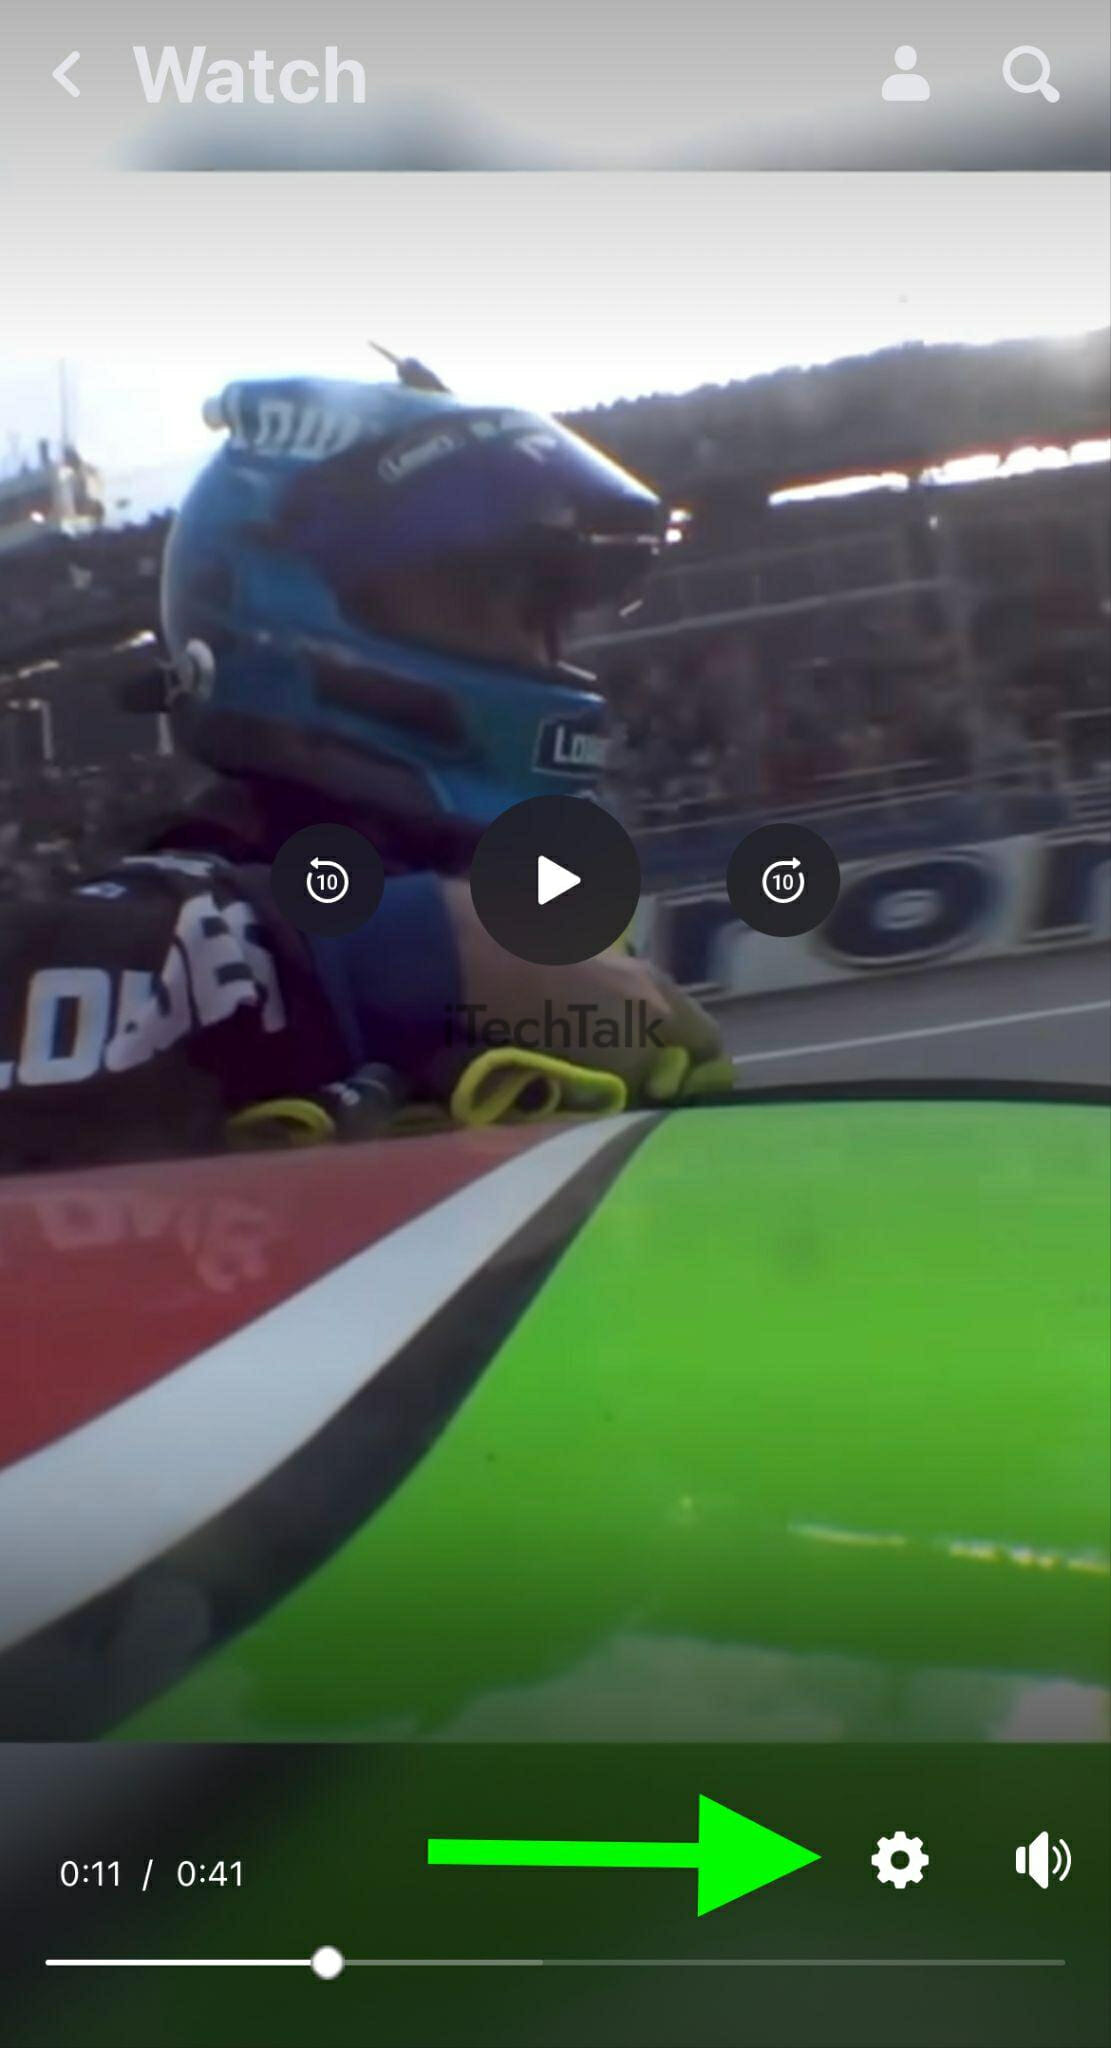
2. Tap on the video itself. Stop the video from playing if it starts automatically, and then tap on the Gear Icon.
You will have the opportunity to adjust the quality of the video that you want to save. If you want the best quality, then choose
1080p or
720p (not every video will have 1080p available).
Related Reading
If you want to save space on your iPhone’s hard drive, then choose a lower quality.

3. Before you start playing the video, you first need to turn on the screen recorder.
Swipe down from the top of your screen to open up the
Control Center. Tap on the
Screen Record icon. A countdown will begin and then the screen recorder will be turned on.
You will know when the recorder is on if the icon turns into a red dot.


4. Watch the video as you would normally.
5. When the video is over, turn the screen recorder off by opening up the
Control Center and tapping on the screen recorder icon again.
6. Your recorded video can be found in the Photos app. Open the Photos app and navigate to the video you just recorded.
Start playing the video, then tap on
Edit. You can now trim the video’s length with the handles at the beginning and end of the video.
Adjust the handles to the length of where you’d like your recorded video to be.


7. You can also tap on the
Crop button to crop the “Facebook elements” out of your video.
Adjust the cropping handles at the top and bottom of the video if you just want the video itself to be saved on you iphone.

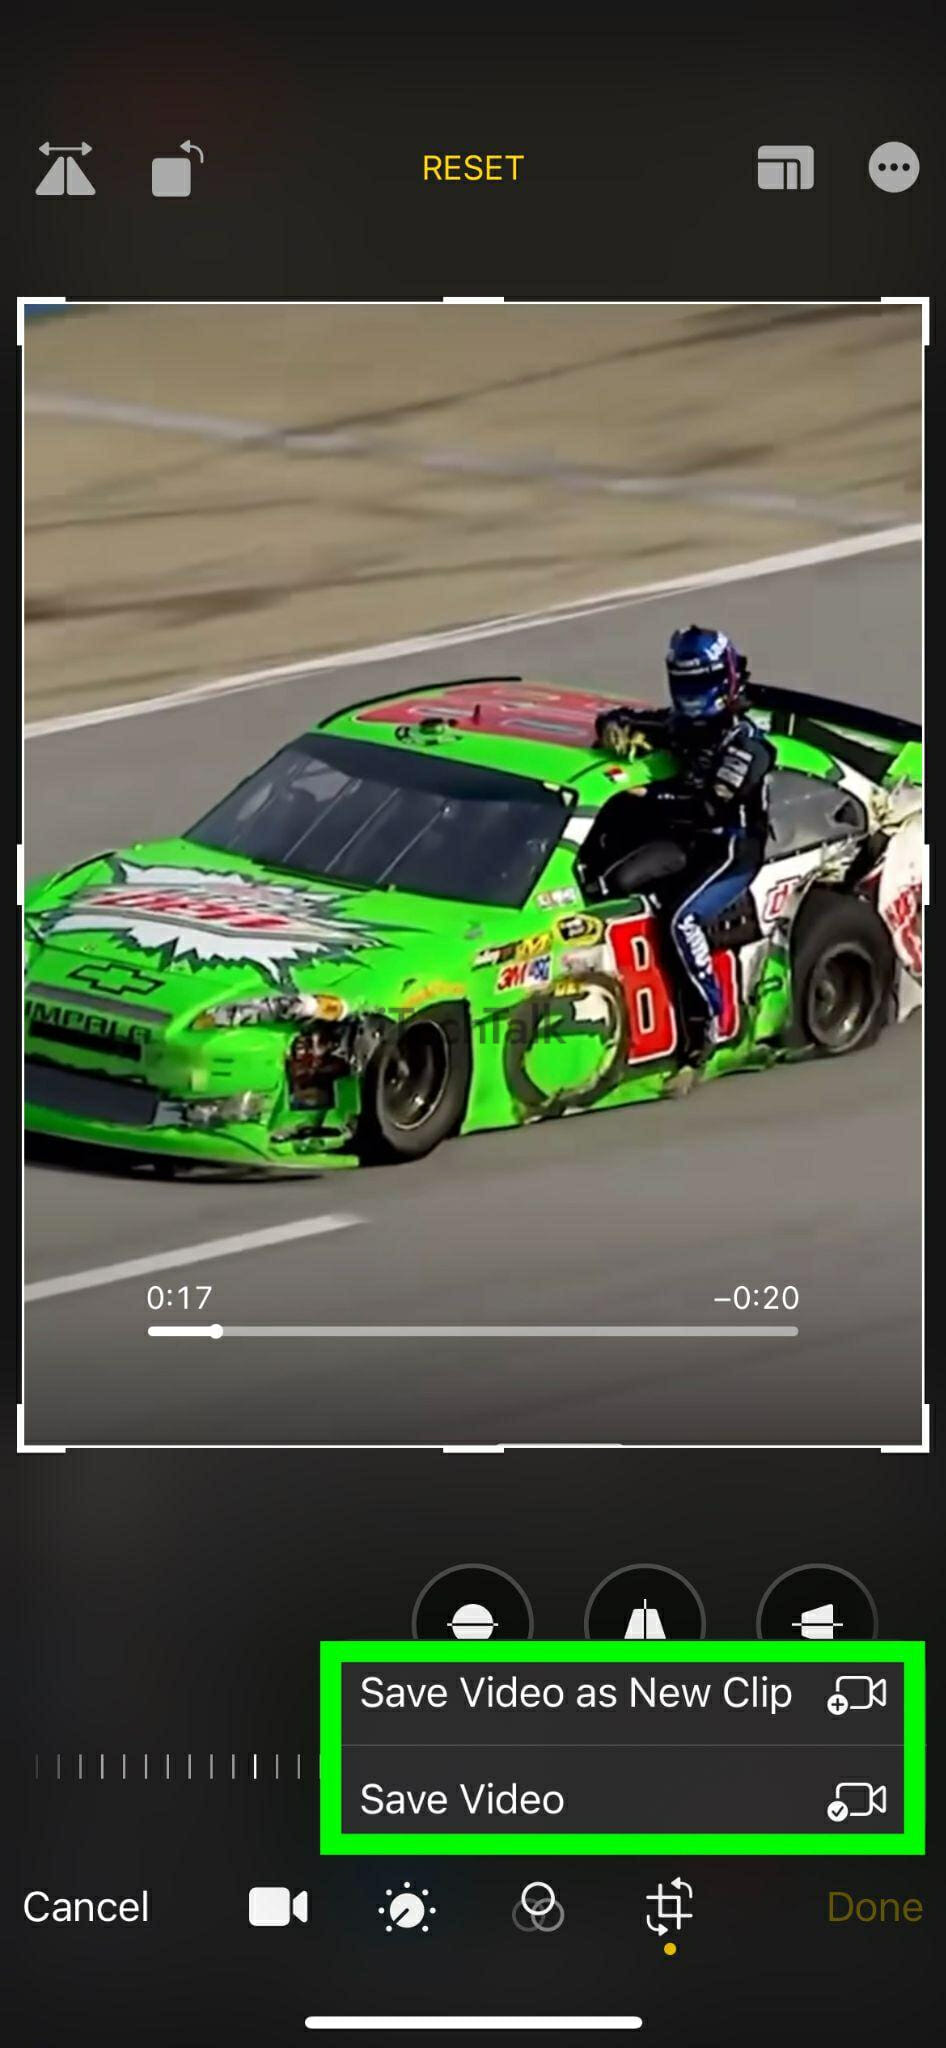
8. When you’re finished making all your edits, tap on
Done.
You will be given two choices for saving your video:
- Save Video As New Clip – Your video will be saved as a separate clip to your iPhone. Doing this will make it so that you save both your original video, and the new edited video as two separate videos. Use this option when you want to save the original video as well as the new clip.
- Save Video – Using this option will replace the original video with your new edited clip. Use this option when you don’t care about the original video you recorded.
Once you make your choice, your edited video will be saved in the
Photos app.

How To Enable The Screen Recording Option In Control Center
If you swiped down from the top of your screen and couldn’t find the screen recorder in the Control Center, that means the screen recorder has not been enabled. Here’s how to enable it:
1. Open the settings app and tap Control Center.

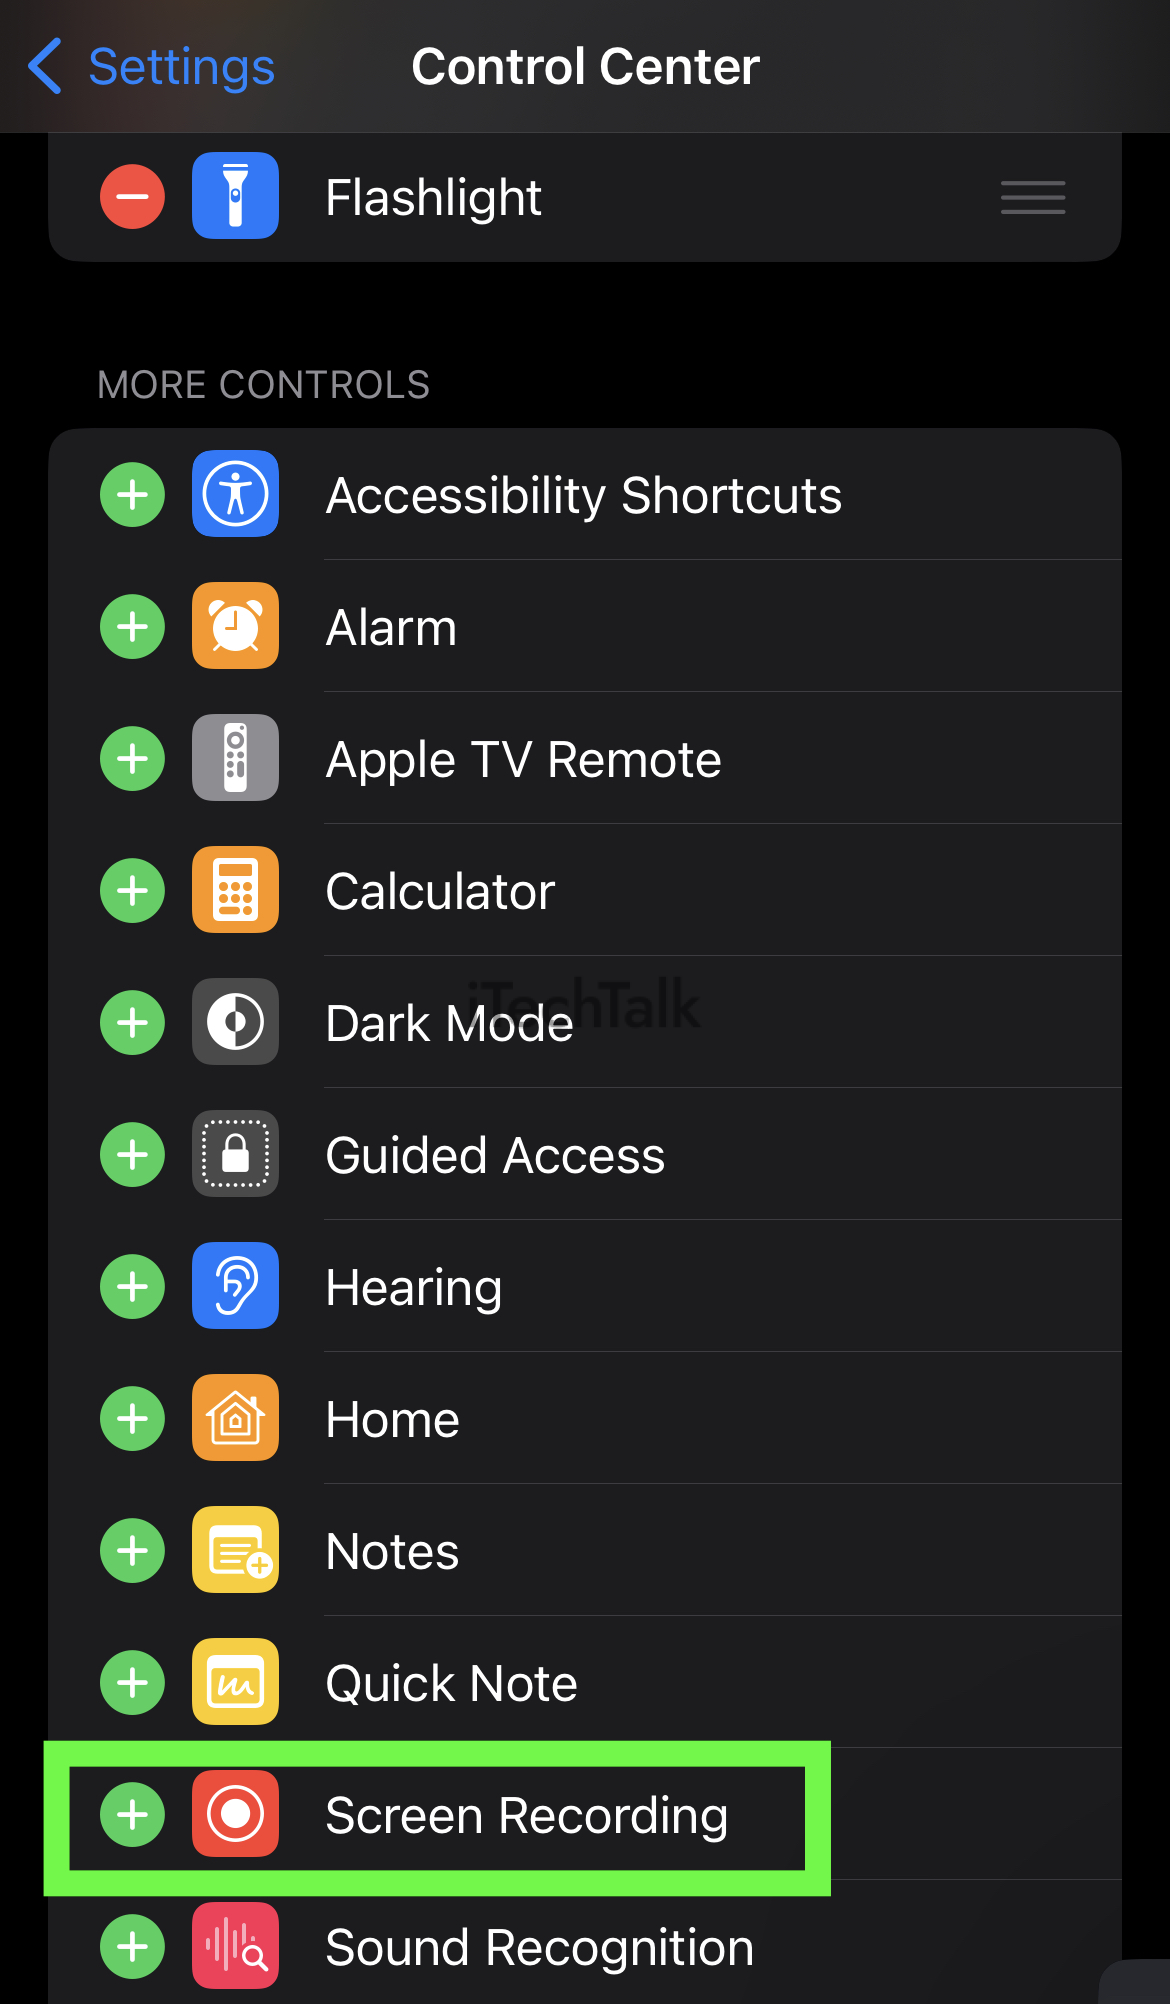
2. Under
More Controls, locate
Screen Recording at the bottom of the screen. Tap on the
plus button to send it to the
Included Controls at the top of the screen.

3. Confirm that Screen Recording was added to the control panel by swiping down from the top of the screen and finding the
screen recording icon.

Use A Browser Downloader
If you want a better quality movie downloaded to your iPhone, you should try using a browser downloader. Here’s how to do it:
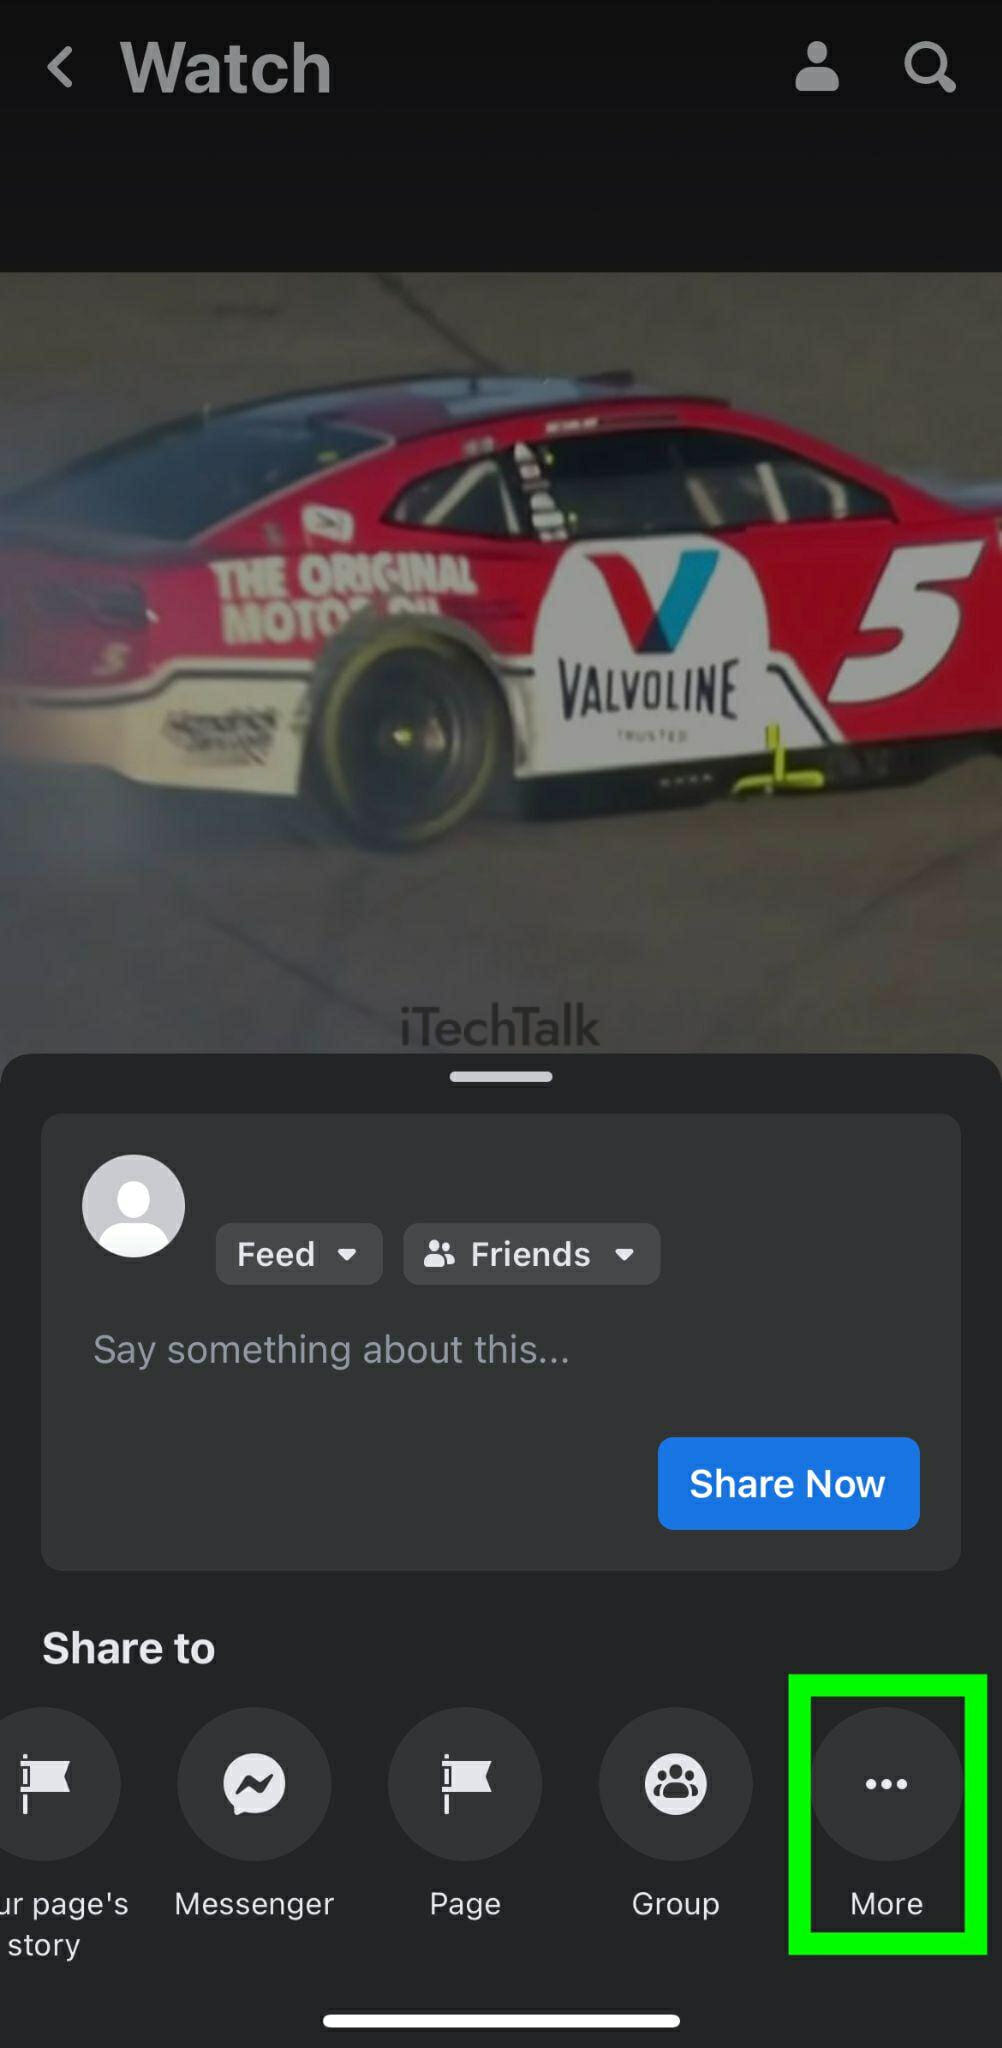
1. Open up the Facebook app and find the video that you wish to download to your iPhone. Tap on the video itself to open up the menu options.

2. Tap on the
Share button.

3. Tap on
Copy (or
Copy Link for some people).
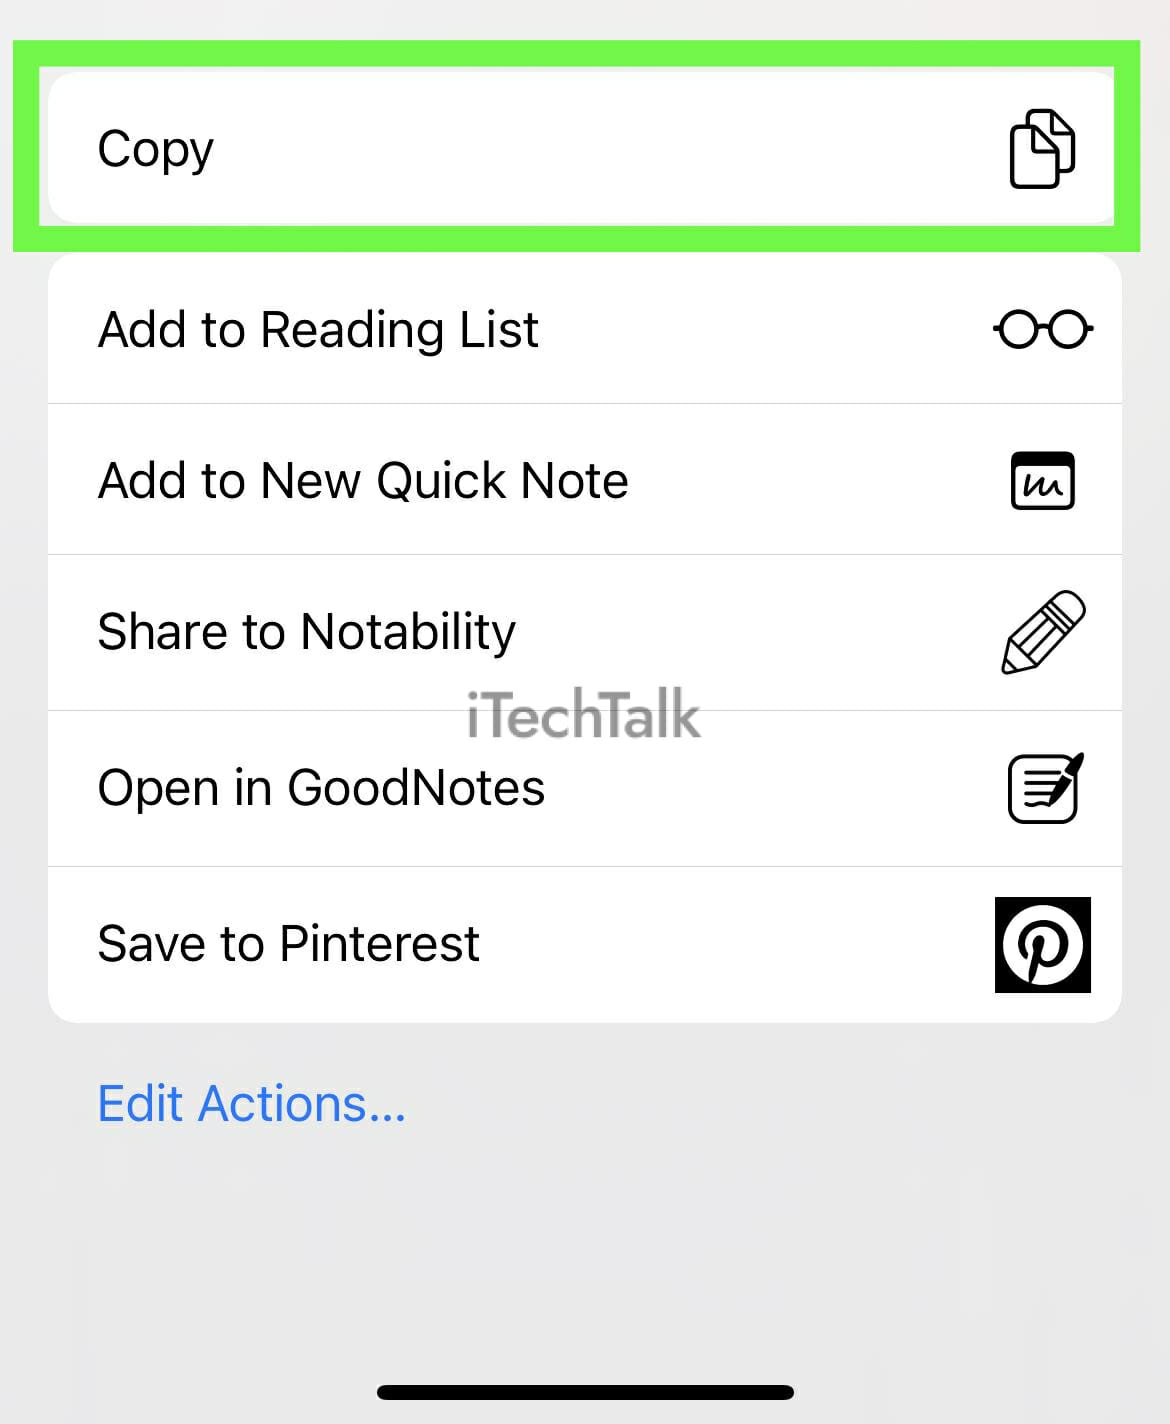
If you don’t see it right away, scroll until you find
More. This will open up a new menu, where you can tap on
Copy.
4. With the video’s link copied to your clipboard, open up
Safari and go to:
FDown.net.
5. Paste your link where it says “
Enter Facebook Video”, then click on
Download.

6. The video is now temporarily downloaded on the website’s end. You now need to get that video to your iPhone’s drive.
Click
Start to begin the process of getting the video off the site and to your phone.


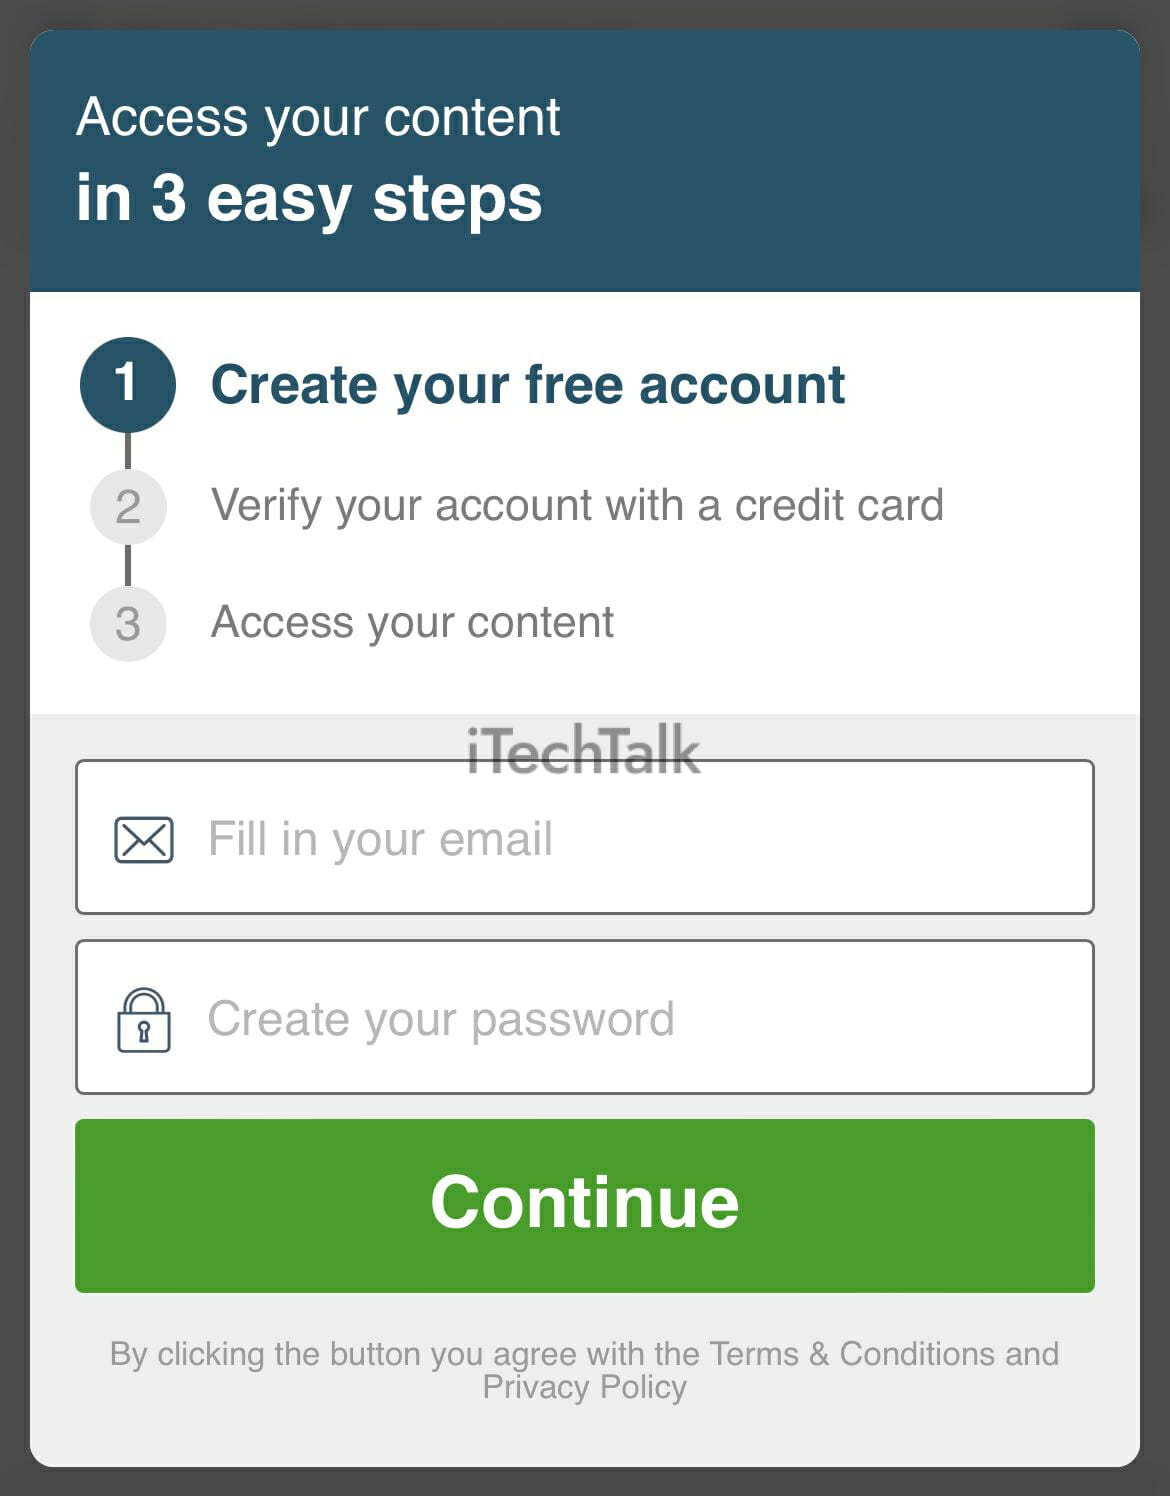
7. Here’s the downside of using this website. In order to receive the video you just downloaded, you will have to create a free account with the website.
Joining is free, and it will only take a few minutes to setup. If you’re looking to download a quality verison of the video, then setting up an account is completely worth it.
Once you’re all set, you will have your downloaded video in your
Photos app.
Which one of these methods do you like the most? Do you prefer to download the most high-quality video you can, or do you prefer to download your Facebook videos as quickly as possible? Please leave a comment and let me know.
Also, if you know someone who wants to save a video off of Facebook, please email them this article.