To open a port on a Mac, open up System Preferences, then click Network. Find your active network and click Advanced. Under the TCP/IP tab, click on Port Settings, then click on Add to add it to the list. Once you have your protocol and the port number chosen, click OK. You can now access the port you want to be opened.
Have you ever needed to open a port on your Mac but weren’t sure how? Well, you’re not alone. Many people are overwhelmed by the thought of opening ports or even knowing where to start. If this sounds like you, don’t worry.
In this post, I’ll go over the basics of opening a port and what steps you need to take in order to do it properly on your Mac. So let’s get started.
Related Reading
Identifying Your Port Number
Before you can open a port on your Mac, you need to first identify the port number you want to open. Not all ports are available to open, so this part is important.
A port number is an identifier that allows a computer or device to distinguish between different types of data that are being sent over the internet or to another computer.
On a Mac, each application uses its own port number for communication on the network. These port numbers help the computer know which application has requested access and, therefore, which data needs to be directed to it.
To identify the port number:
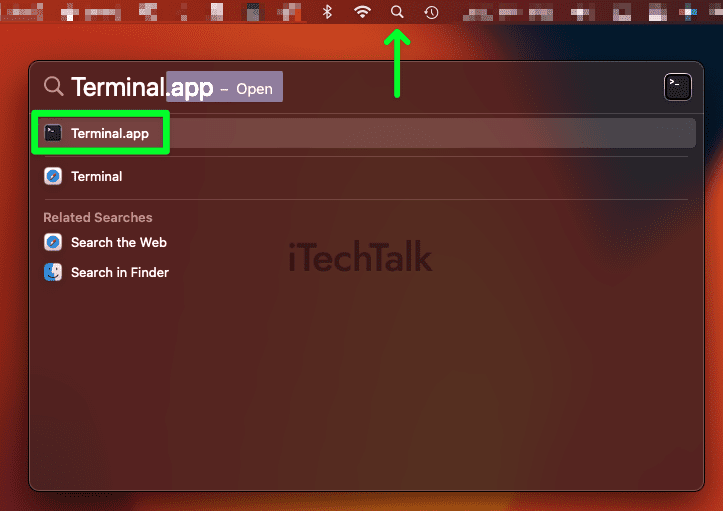
- Launch the Terminal app from the Utilities folder within the Applications folder, or by typing Terminal in Spotlight.
- Then, type netstat -vanp tcp and press Enter.

- A list of active network ports will then appear on your screen. Find the port number you are looking for within this list and write it down for later use.
How To Open A Port On A Mac
Once you have the port number handy, it’s time to get into the nitty-gritty of opening that port.
To do this, you will need to access the Network pane within
System Preferences on your Mac:
- Click on the Apple Logo in the top left-hand corner of your screen and select System Preferences.
- Then, click Network to open up the necessary settings.
- Next, locate your active network connection and click Advanced. Under the TCP/IP tab, you should see an option called Port Settings. Clicking this will reveal the list of active ports, find your port number and click Add to add it to the list.
- You also have the option to select either TCP or UDP as the type of protocol associated with that port. The network connection you are using may require a specific protocol; make sure you check with your network provider first before making the selection.
- Once you have your port number and protocol chosen, click OK, and you should be all set. You can now use that port to access the resources and applications associated with it. Congratulations, you’ve just opened a port on your Mac.
If you ever need to change the port settings, you can revisit the
Network pane in
System Preferences and make your adjustments there.
Using The PFCTI Command
Another way you can open a port on your Mac is with the pfcti command. This method will also require you to use Terminal. To use this method:
- Open up Terminal by going to your Utilities folder within the Applications folder, or by using Spotlight.
- In Terminal, type in pfctl -s nat and hit Enter. A list of active ports will appear.

- Locate the port you need to open and write it down for later use.
- Next, enter the command pfcti –o port=<port number>. For “<port number>,” input the port number you located earlier.
- Hit Enter, and the port should be opened.
Opening A Firewall Port
If you need to access a port on a firewall, you will need to use a different method. Firewalls are designed to block requests from outside sources, so you will likely have to make changes directly within the firewall itself. To do this:
- First, open the System Preferences app and click on Security & Privacy.
- Select the Firewall tab and click Firewall Options.
- Click the plus sign (+) to add an application to the list of allowed apps.
- Finally, select the checkbox next to your desired application in order to open its port on the firewall.
Conclusion
Opening a port on your Mac is not the most intuitive task to pull off, but it’s not the most complicated task either. With the help of this guide, you should be able to open ports on your Mac and access the resources associated with them.
Now that you understand how to open a port on Mac, take some time to explore the options available for sharing data or resources online. You’ll be surprised by the possibilities afforded by having access to different ports. It’s an essential part of data transfer and communication, so don’t hesitate to get familiar with the process. Good luck!